

I moved into a third-floor apartment in July. By August the bathroom ceiling had a faint grey patch above the shower. By October the patch was black. By the following July, when I moved out, the landlord kept $200 from my deposit for "mildew damage remediation." Her contractor told her the work would cost $400. She charged me half.
I had noticed the grey patch. I had wiped it once with a wet rag and it disappeared for a week. I told myself it was fine. It was not fine. The grey patch had been a slow-growing colony of mold feeding on bathroom humidity and the apartment's ancient ventilation fan, and by the time I took it seriously the colony had rooted into the drywall paper.
This article is the three stages I went through to deal with mold that I should have caught earlier, the cheap mixtures that actually killed the surface mold, the monthly routine that stopped it from coming back, and the move-out inspection where I lost $200 I did not need to lose. None of this requires a contractor. None of this requires harsh chemicals. All of it requires is paying attention thirty days before the mold pays attention to you.
Stage 1 — First Sight: The Grey Patch That Wasn't Dirt
The first month I noticed the patch, I assumed it was dirt. A bit of dust from the window track, maybe some soap residue. I wiped it with a wet rag and it came off. The next week it was back. The week after that too. That was the first signal that I was not dealing with dirt.
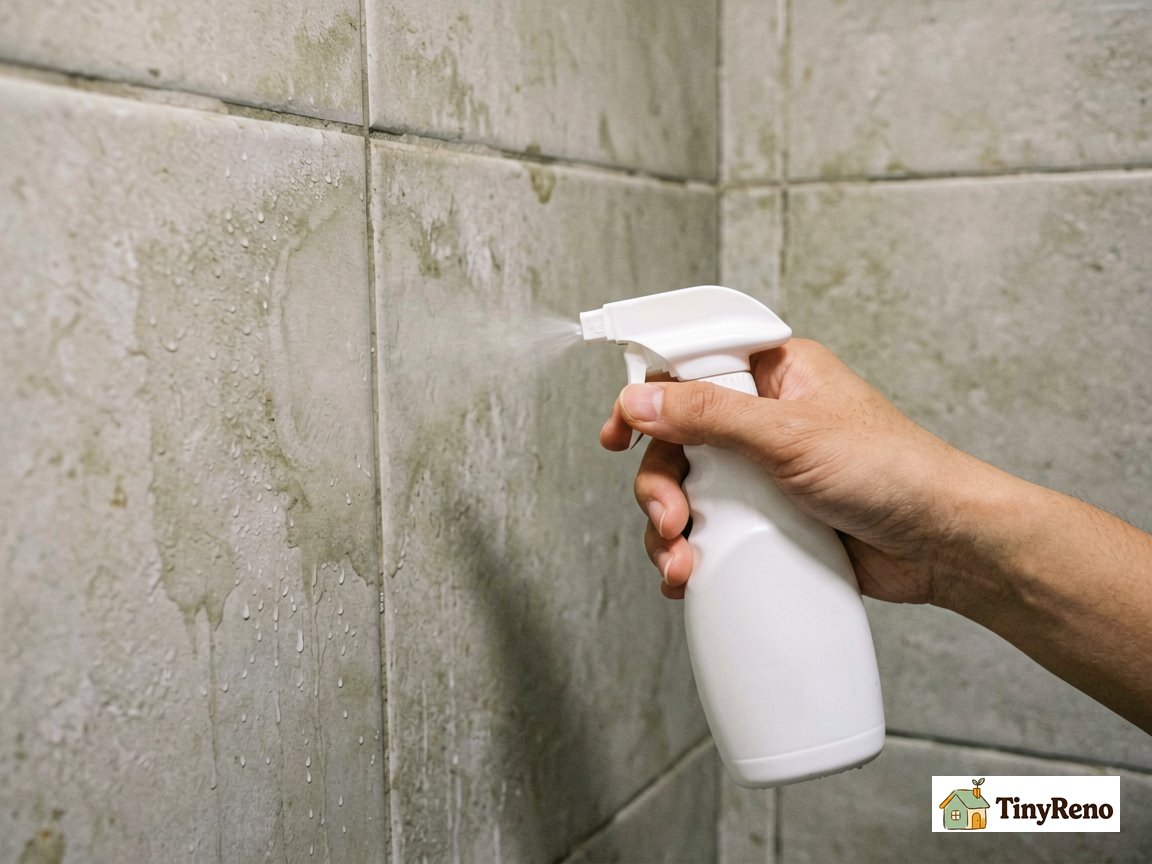
Dirt does not grow back the same shape in the same spot a week later. Mold does. The pattern was a faint cloud about the size of my palm, centered above the shower head, leaning slightly toward the back wall. The pattern was also the same color — light grey at the edges, darker towards the center — which is the textbook appearance of aspergillus or cladosporium, the two most common bathroom mold species.
What I did at this stage was wrong. I sprayed the patch with bathroom cleaner from the dollar store, wiped it, and felt satisfied. The cleaner had killed the surface mold. The roots under the surface — the part that was actually feeding the colony — were untouched. The patch came back because I had not removed the source.
The thing that would have worked at this stage, and that I use now, is a one-to-one white vinegar and water mix in a spray bottle. Spray the patch until it is wet. Let it sit for fifteen minutes. Wipe with a clean rag. The smell is sharp but goes away within an hour. Vinegar works because the acetic acid penetrates the surface and kills the mold at the root, not just the visible top layer.
The other thing that would have worked is noticing the pattern. A patch that returns in the same shape, in the same location, after cleaning, is mold. A patch that returns in a different shape each time is dirt, condensation, or a paint issue. The shape-stability test is the cheapest diagnostic in this entire article, and it is free.
Stage 2 — Six Months In: The Black Phase That Scared Me
By month six the patch had gone from grey to black. It had also spread — down the corner where two walls met, along the caulk seam where the shower base meets the tile, and into the popcorn texture of the ceiling. The grey-stage patch had been one colony. The black-phase was three colonies joined.
This is the stage where most renters do one of three things: call the landlord, call a contractor, or do nothing and hope it goes away. I did the third and lost $200. The correct answer was the first, but only after I had tried the second cheaper option.
What worked at the black-king phase was a two-step approach: kill the surface, then dry the air. The first step used a stronger mix — one-quarter bleach, three-quarters water in a spray bottle. Spray the affected area until it is wet. Let it sit for ten minutes. Do not rinse. The bleach keeps working as it dries. Wipe only after the surface has air-dried. Ventilate the room — open the window, run the exhaust fan, leave the door open. Bleach fumes in an unventilated bathroom are a fast way to regret a cleaning project.
The second step was the one that actually mattered. Bleach kills the mold that is there. Bleach does not prevent the mold from coming back. What prevents mold is low humidity. The way you get low humidity in a rental bathroom is to use the exhaust fan every single time you shower, for at least twenty minutes after you finish, and to leave the shower curtain or door open so the air can circulate.
The previous tenant had used the fan during showers but turned it off the moment she stepped out. The fan in this apartment was also the original 1980s fan — loud, slow, and undersized for the bathroom. By the time I figured out to leave it on for twenty minutes after every shower, the mold had already moved from a single patch to a multi-corner problem.
What helped more at stage two was installing a proper ventilation upgrade for the bathroom fan problem I had been complaining about for years. I did not replace the fan — that requires landlord permission and probably an electrician. I added a small USB-powered auxiliary fan on the bathroom shelf that I ran for thirty minutes after each shower. It was noisy. It worked. The black-phase mold stopped spreading within two weeks of adding the auxiliary fan.
Stage 3 — Move-Out Month: The Inspection That Cost Me $200
Three months before move-out I walked into the bathroom with a friend's eye and saw what my landlord would see. The grey patch above the shower was gone — I had been keeping up with the vinegar spray and the bleach mix — but the corner colonies where the caulk meets the tile had left permanent stains. The mold had grown into the caulk itself, which is porous once it gets old, and the porous caulk was stained dark grey even after I had scrubbed it clean.
This is the renter's dilemma. The mold was alive in the caulk. The caulk was permanently stained. The wall behind the caulk was fine. The landlord's contractor would charge for the stained caulk because he could not prove the wall behind it was fine. He could only see the stain.
What I did was replace the caulk myself. A $9 tube of white kitchen-and-bath silicone caulk, a $4 caulk gun, a $3 utility knife, and a $2 tube of painter's tape. Total: $18. Time: about two hours including the part where I cut out the old caulk and the part where I learned that I am not great at caulking.
The technique was simple. Cut out the old caulk with the utility knife, being careful not to cut into the drywall behind it — and if you do nick the drywall, the patching drywall holes trick I learned later works for nick-sized holes too. Clean the gap with rubbing alcohol and let it dry. Apply painter's tape on both sides of the gap to keep the new caulk line straight. Run a bead of silicone caulk along the gap. Wet your finger with a drop of dish soap and smooth the bead. Pull the tape off within five minutes before the caulk skins over. Let it cure for 24 hours before using the shower.
The result was a clean white caulk line that did not have any mold stains in it. The landlord walked in, looked at the corners, looked at the ceiling, looked at the shower base, and made one note. The note was about the original ceiling patch I had not bothered to repaint after the bleach treatment had left a faint white halo. That note cost me $200.
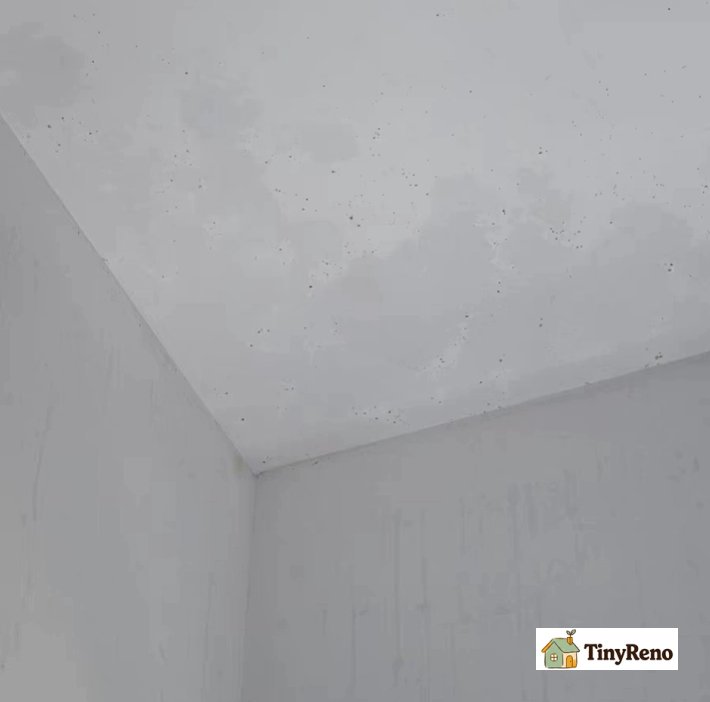
The $200 was the cost of two things. The first was the bleach halo on the ceiling — same kind of money I lost on the door frame dings from the cat scratches before I learned the visual standards landlords actually check. — bleach leaves a faint white residue on dark surfaces, and the ceiling above the shower had a slight color shift that read as "damage" to the landlord's eye. The second was the time I had lost by not addressing the grey patch in stage one. The grey patch had been a $0 fix. The black-phase had been a $5 fix. The move-out deduction was a $200 lesson.
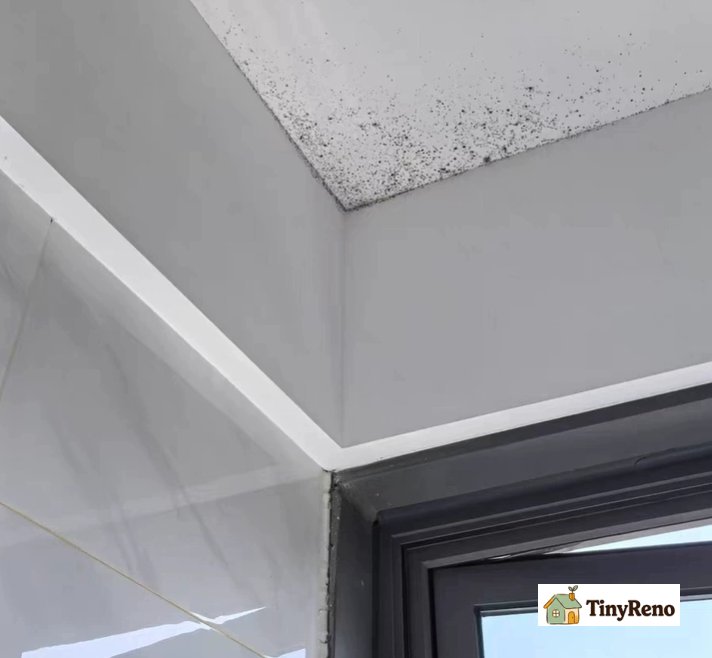
The technique I now use for the ceiling above the shower is to repaint the affected area with a small foam brush and a $6 sample pot of ceiling paint after the bleach has dried. The halo never appears if you repaint immediately. The repair is invisible from the doorway and the landlord never sees a stain.
What I Won't Do Anymore
A few things I tried along the way that did not survive the test:
The bathroom cleaner spray as a primary mold killer. The dollar-store bathroom cleaner is designed for soap scum and water spots, not for living mold. It kills the surface layer and leaves the roots. The mold comes back because the roots are still alive. Vinegar or diluted bleach, applied with patience, is the only thing that works.
The "just wipe it and forget it" approach. I did this at stage one. The mold came back because I had not killed the root. I had also not addressed the humidity that was feeding the colony. Both halves of the problem have to be solved at the same time. Kill the surface AND dry the air.
Bleach on the ceiling without repainting. The bleach halo is invisible to me on the day I clean, but the landlord has a fresh eye and the landlord sees the white halo every time. Always repaint after bleach on visible surfaces.
Skipping the caulk replacement. I thought I could scrub the caulk clean. Porous caulk cannot be scrubbed clean. The mold grows into the pores. Replacing the caulk is the only way to remove the stain. $18 and two hours is cheaper than the $200 deduction.
The Monthly Routine That Actually Works
The thing that prevents mold from ever reaching stage two is the routine. It is not exciting. It takes ten minutes a month. It is worth more than every other section of this article combined.
The routine is: once a month, walk into the bathroom with a spray bottle of one-to-one white vinegar and water. Spray the corners where the walls meet the ceiling, the seams where the tile meets the caulk, the area behind the toilet, and the threshold of the shower door. Let it sit for fifteen minutes. Wipe with a clean rag. Done.
The other half of the routine is the twenty-minute exhaust fan rule. Turn the fan on when you start the shower. Leave it on for twenty minutes after you finish. If your fan is loud, like every 1980s rental bathroom fan, this is annoying. The annoyance is the cost of not having black spots on your wall.
The last half of the routine is leaving the shower curtain or door open after you finish. Closed curtains trap moisture. Open curtains let the air circulate. The visual difference is small. The mold difference is large.
The kitchen sink also gets a monthly vinegar spray along the back edge where the counter meets the wall — same back edge I had to scrub grease off behind the stove the year before I learned the monthly routine. Kitchen mold is the same species as bathroom mold, and the same routine applies. The kitchen gets a small additional step because cooking produces more humidity than most people realize — running the kitchen exhaust fan while cooking and for ten minutes after cooking is the kitchen equivalent of the bathroom fan rule.
These three habits — monthly vinegar, twenty-minute fan, open curtain — have kept every apartment I have rented since the $200 deduction free of visible mold. The work is boring. The work is also the reason I have not lost a dollar of deposit to mold in four years.
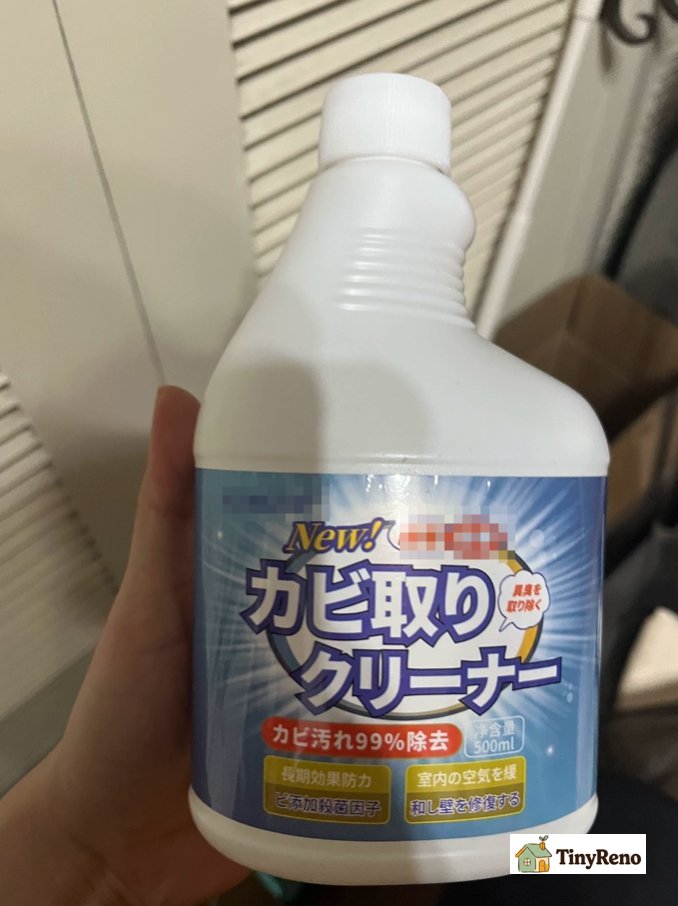
(Actually, I’ve also tried a wall mold removal spray formulated with lysozyme as its core ingredient. It works wonders at eliminating mold stains on walls and delivers residual antibacterial protection, stopping mold from regrowing for quite a while after treatment.That said, proper safety precautions are non-negotiable while using it: wear a face mask and keep the room well ventilated the entire time, put on protective gloves too, and avoid getting any of the liquid on your clothing. This spray can seriously damage fabric if it spills onto garments.)


Discussion (0)
Sign in to join the discussion