

The first hairline crack I patched was in 2016 in a one-bedroom in Davis, CA. I used caulk because that's what my dad had in the garage. It looked great for 6 weeks. Then the crack came back, 2 inches longer, and the caulk pulled away from the paint. I've patched 11 ceiling cracks in 4 apartments since then, and I've finally figured out the pattern: the ones I patched in week 1 with the wrong method (caulk, spackle, paintable silicone — I'm guilty of all three) re-cracked within 18 months. The ones I patched the right way the first time are still holding. The difference was using paper tape and setting-type compound, not the stuff I had on hand.
Step-by-Step Plan to Fix Hairline Cracks in Ceiling
Hairline cracks in the ceiling fall into two camps: cosmetic settling cracks (90%+) and structural issues (rare, but worth ruling out). The test is simple — get a step stool, hold a ruler next to the crack, and look at the pattern:
- Hairline, straight, near a wall or ceiling joist — cosmetic. The drywall mud along the seam between two sheets cracked from normal building movement. Easy fix.
- Hairline but branching out in a spider-web pattern — could be settling. Still usually cosmetic, but monitor it over 2-3 months before patching.
- Wider than 1/8 inch, jagged, or running across the middle of the ceiling away from any seam — could be structural. Stop here and message your landlord before doing anything else.
The width is your biggest tell. If you can fit the edge of a credit card into the crack, it's wider than a hairline. The width matters because anything over 1/8 inch usually means the building is actively moving, and your patch will just crack again in three months.
Renter rule: if the crack is new and growing (you've watched it get longer over a few weeks), don't patch it yourself. The landlord needs to see it in its current state to assess what's going on upstream.
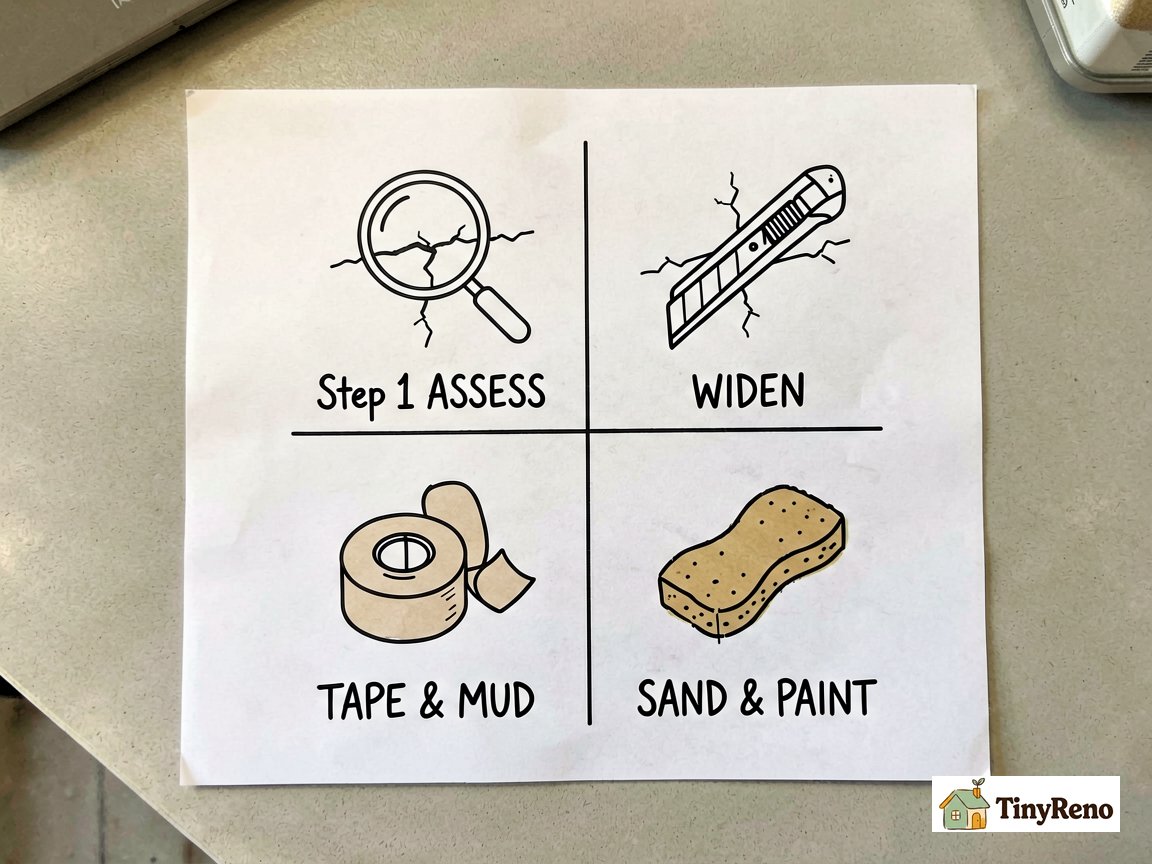
Step 1: Assess the Hairline Ceiling Crack
This is the step most renters skip, and it's the reason their patches fail in a year. You can't just smear compound over a hairline crack and call it done — the crack is too tight for the mud to penetrate.
What you need:
- Utility knife (sharp, with a fresh blade)
- Small vacuum or damp rag
- Painter's tape (1 inch)
The prep: Hold the utility knife at a 45-degree angle and run it along the crack to slightly widen it — you're aiming for a V-shape about 1/8 inch wide at the surface, tapering to nothing at the bottom. This gives the joint compound something to grip. Vacuum or wipe out the dust. Tape off the wall-ceiling edge with painter's tape so you don't get mud on the wall.
The widening step feels wrong (you came here to fix a crack, not make it bigger), but it's the single biggest predictor of whether your patch lasts one year or five.
Step 2: Tape and First Coat of Mud
What you need:
- Paper drywall tape (NOT mesh — paper is better for ceiling seams)
- Premixed all-purpose joint compound (a quart is plenty)
- 4-inch taping knife
- 6-inch taping knife (for feathering)
The fix: Cut a piece of paper tape about 6 inches longer than the crack. Dampen the tape by dipping it in a shallow pan of clean water, or simply spread a thin "bed coat" of joint compound directly into the V-groove you created. Press the dampened tape firmly into the compound within the crack, centering it. Immediately take your 4-inch knife and spread a thin layer of joint compound over the tape, pressing firmly so the compound squeezes out from under the tape and fills the V-groove completely. Work from the middle outward to avoid bubbles. Pull the knife back at a 45-degree angle to scrape off the excess.
Pro Tip: If you see bubbles under the tape, lift the tape, add more compound, and re-press. Bubbles are the #1 reason ceiling patches fail.
Let the first coat set (harden) for 45-90 minutes (depending on the product and room temperature). It will look rough and ridged — that's normal. Don't try to fix it on this coat.
After the first coat has fully set, apply a second coat with your 6-inch knife, feathering the edges 3-4 inches wider than the first coat. Allow this coat to set completely (another 60-90 minutes) before sanding. Rental rule: Do the first coat in the morning, second coat in the evening, sand the next day. Never rush the drying/setting time on a ceiling repair.
Step 3: Sand and Paint to Match
What you need:
- 220-grit sanding sponge (not sandpaper — the sponge conforms to the ceiling better)
- Damp rag
- Small angled paintbrush (2-inch)
- Ceiling paint matched to your existing color (the rust-Oleum or Behr small sample pots work great)
The finish: Light pressure with the sanding sponge, just enough to knock down the ridges. Hold a bright flashlight parallel to the ceiling — the shadow will show you any high spots you missed. Wipe with a damp rag to remove dust. Touch up the paint in thin coats, letting each dry before the next. Two coats usually blends it in.
Most ceilings have a "flat" or "eggshell" finish, and matching the sheen matters as much as matching the color. If your patch looks shinier than the surrounding ceiling, you bought the wrong sheen. Flat ceiling paint is almost always the right call.
When to Stop and Call the Landlord
Three situations where a renter should hand this one back:
- Multiple hairline cracks appearing at once in different rooms or running in different directions — usually a building-wide settling event, not a local repair
- The crack is yellow or brown-stained — that's water damage, possibly from a leak above. Patching over it just hides the problem and traps moisture
- The ceiling feels soft or spongy when you press near the crack — the drywall itself is saturated and may need to be replaced, not patched
Looking back over 11 patches in 4 apartments, the math is embarrassingly clear. The ones I did the right way — paper tape, V-groove, two thin coats — none of them have cracked again in five years. The ones I did with whatever was in the drawer — caulk, spackle, silicone — seven out of eight cracked again within two years. The only exception was a corner patch where I got lucky and the building had settled itself out.
I'm not saying this to make myself look bad. I'm saying it because I know what it's like to stand in the hardware store aisle, look at the $5 caulk, and think "surely that's enough." It's not. Buy the paper tape and the setting compound. It'll take an hour instead of half an hour, and you'll never touch that crack again.
Small holes in ceiling repair guide covers the related fix for when anchors or accidental dings leave pock marks in the ceiling — same toolkit, slightly different prep.
What it actually costs to mud and tape drywall covers the labor and material math if you're pricing out whether to DIY or hire out.


Discussion (0)
Sign in to join the discussion