

The black spot in the corner of my 2019 bathroom ceiling was the size of a quarter when I noticed it on a Tuesday morning. By Friday it was 3 inches wide. By the next Tuesday I had a $240 water-damage bill because I told myself "it's just mildew, I'll deal with it this weekend." The weekend was 3 weeks away. The quarter became a hand-sized patch that needed the drywall cut out. This article is the 4-step method I now use the moment I see mold, and the $12 in supplies it costs. Quarter-size or smaller, dealt with within 48 hours — 95% chance it's a one-day job. Hand-sized, ignored for 3 weeks — call the landlord, you waited too long.
Mold on Sheetrock vs. Mildew: How to Tell
Not every dark spot on drywall is the real problem. Here's the quick test:
- Mildew — surface-level, usually white-gray or yellow, wipes off with a damp rag and a little dish soap. Comes back if humidity stays high. Apartment-smell culprit, but not a health emergency.
- Mold on sheetrock — penetrates the paper facing, usually black, green, or pink, does NOT wipe off cleanly. Often has a musty or earthy smell. The paper facing itself is discolored.
If you can rub the spot with a damp rag and the discoloration comes off cleanly, you've got mildew — not the real problem. Mildew fix is a vinegar spray and better ventilation. The cleanup plan below handles the deeper case.
The other test is the smell. Growth smells like a damp basement or old wet towel. If you can smell it but can't see it, check behind furniture, inside closets, and around window frames — that's where it hides when it starts.
Step 1: PPE and Ventilate Before You Touch Anything
The spores are what make you sick, not the visible growth itself. Disturbing the colony without protection sends spores into the air, which is the opposite of what you want. Before you start cleaning mold on sheetrock:
- Put on an N95 respirator (not a cloth or surgical mask — those don't filter spores). A basic 3M N95 from the hardware store, $2-3.
- Rubber gloves — any dish gloves work.
- Old clothes you can wash in hot water immediately after — or a disposable painting coverall from the paint aisle, $4.
- Open a window in the room and, if possible, close the door to the rest of the apartment. You want airflow OUT, not across the rest of your living space.
- Set up a box fan pointing OUT the window if you have one. This pulls spores away from you while you work.
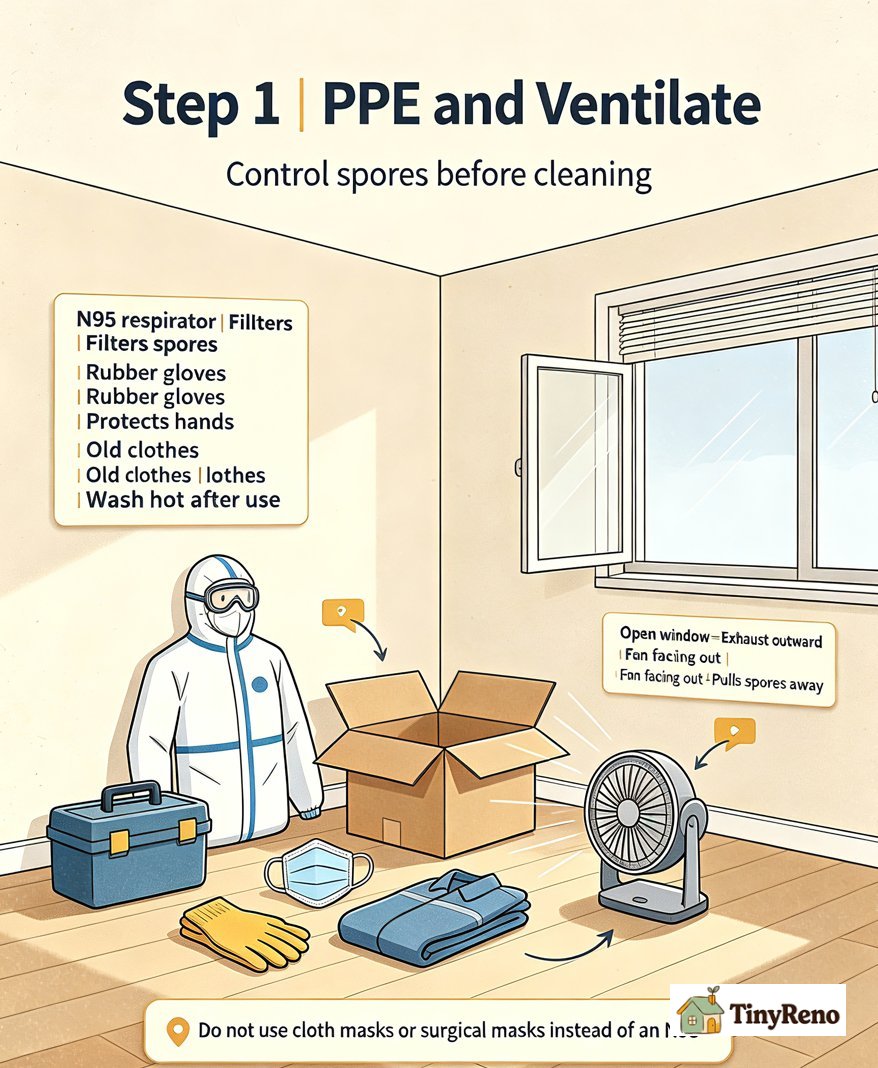
Skip this step and you'll likely feel congested and headachy for the rest of the day. The PPE feels like overkill for "just a little spot" until you spend four hours cleaning without it.
Add to PPE list: Safety goggles (mold spores can irritate eyes; N95 doesn't protect eyes).
Step 2: Kill the Growth With Vinegar (The Only Renter-Safe Choice)
⚠️ WARNING: Never use bleach on drywall! Bleach cannot penetrate the porous paper facing of sheetrock to kill the roots. It only bleaches the color, leaving the colony alive and adding moisture that encourages regrowth. Worse, mixing bleach with vinegar (or ammonia) creates toxic chlorine gas that can be fatal. A friend of mine learned this via a 2-day hospital visit after mixing cleaners — don't repeat it.
The Vinegar Route (Safe, Effective, Cheap):
Pour undiluted white distilled vinegar into a spray bottle. Generously soak the affected area — don't just mist it. Let it sit for a full 60 minutes. The mild acidity kills about 82% of mold species according to EPA studies without damaging the drywall paper or filling your apartment with toxic fumes. Scrub with a soft-bristle brush (an old toothbrush works for small spots). Wipe with a damp rag.
For stubborn spots, a paste of borax and water (1 cup borax to 1 gallon water) is another safe, non-toxic alternative that inhibits future growth.
For most renter situations, vinegar is the better choice. It kills about 82% of species according to EPA studies, doesn't damage the drywall paper, doesn't fill your apartment with fumes, and you probably already have a bottle.
Don't mix vinegar and bleach — the combination creates toxic chlorine gas. I learned this from a fire-department Reddit thread in 2017 after a friend almost passed out doing exactly this. If you start with vinegar and decide to switch to bleach, rinse the area with water first. Open the window. Don't make my friend have a two-day hospital visit.
Step 3: Cut Out the Damaged Paper Facing (If Needed)
If the growth has penetrated the paper facing of the sheetrock — which is most visible cases — you have to remove the affected paper or the colony will grow back through any paint you apply over it.
What you need:
- Utility knife (sharp blade)
- Putty knife or 4-inch taping knife
- Small vacuum or damp rag
The cut: Use the utility knife to score the paper facing at least 1 inch outside the visible stain. Peel the cut section away with the putty knife. Inspect the exposed gypsum core:
-
Good sign: The gypsum is dry and white/light gray. Proceed with the patch.
-
Bad sign: The gypsum is dark, soft, crumbly, or feels damp. This means the water damage and mold have penetrated beyond the paper facing into the wall cavity. Stop immediately. This is beyond DIY. Cover the hole with plastic sheeting and call your landlord — the entire section of drywall likely needs professional replacement.
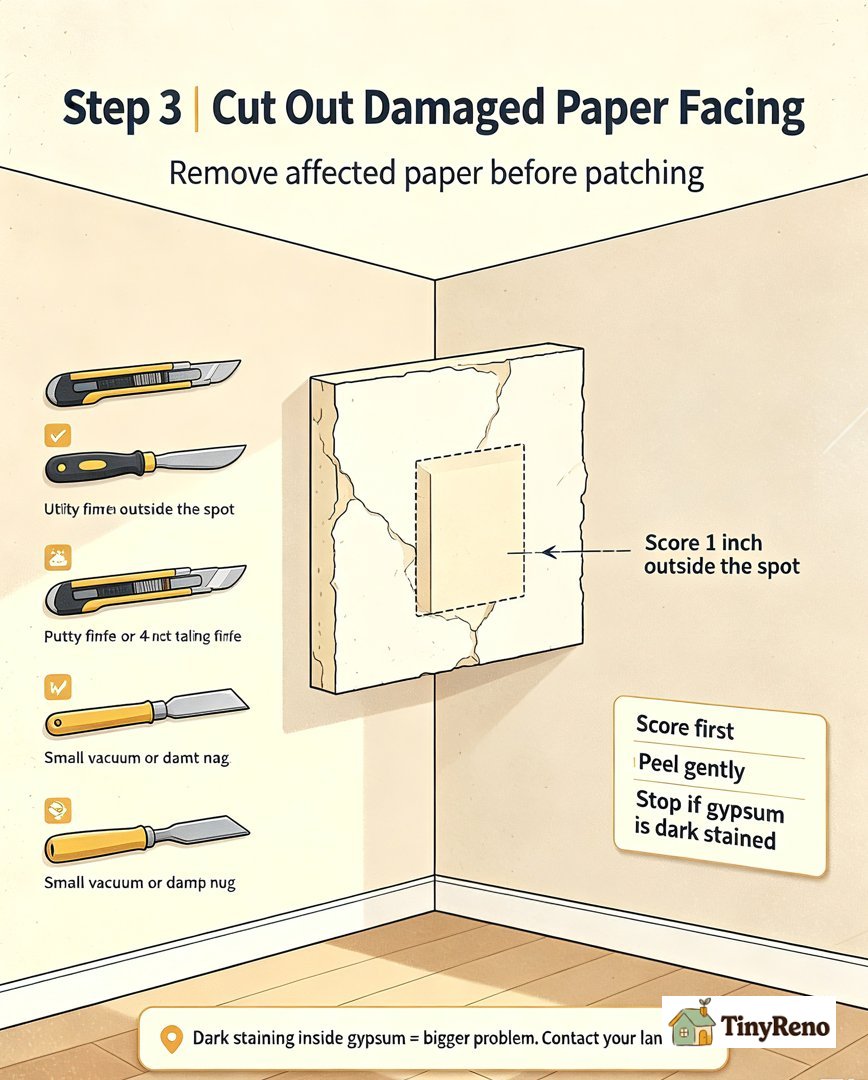
For spots under 6 inches across, this is a 15-minute job. Larger than that, and the patch becomes a multi-day mudding-and-sanding project that most renters don't want to take on.
Step 4: Patch, Prime, and Seal
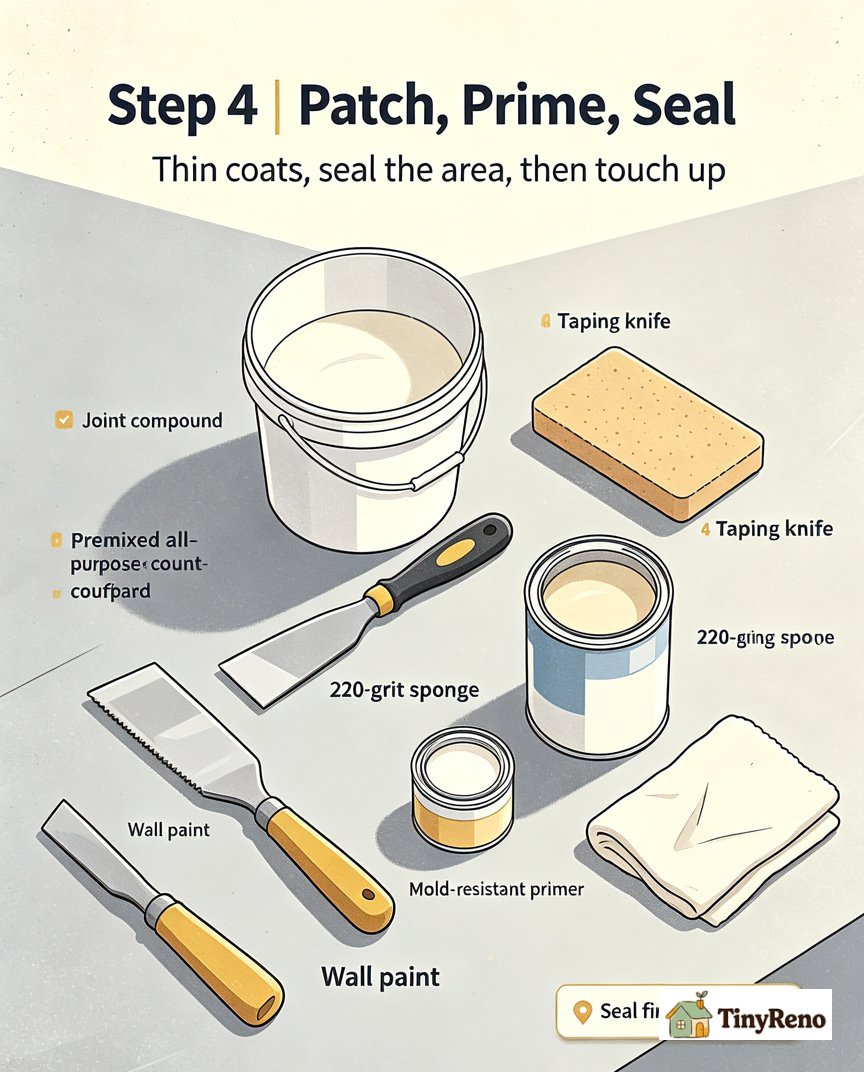
What you need:
- Premixed all-purpose joint compound (a small tub)
- 4-inch taping knife
- 220-grit sanding sponge
- Kilz or Zinsser mold-resistant primer (small can)
- Matching wall paint
The patch: Apply a thin coat of joint compound over the cut-out area with your taping knife, feathering the edges. Let dry 4-6 hours. Sand smooth with the sanding sponge (light pressure). Apply a second thin coat if needed. Sand again. Wipe dust with a damp rag.
The prime: This is the step that prevents regrowth. A mold-resistant primer like Kilz or Zinsser BIN seals the gypsum and creates a surface the colony can't grow through. One coat, let dry per the can directions (usually 1-2 hours).
The paint: Touch up with your wall paint. If you don't have the original paint, a small sample pot of a close-enough color is usually $5-8 at the hardware store.
Pro Tip: Apply the mold-resistant primer even if you think you got all the mold. Spores are microscopic. The primer acts as a sealant, locking in any residual spores and preventing them from growing through the paint. Do not skip this step.
When to Call the Landlord (Don't DIY)
Three situations where you stop and message the landlord instead of tackling it yourself:
- Spot is bigger than 1 square foot (about 12x12 inches). The EPA recommends professional remediation above this size, and most landlords will pay for it through their insurance.
- The same spot keeps coming back after you cleaned it — that means the moisture source is still active behind the wall. Patching over it just delays the bigger problem.
- You smell growth but can't find it — could be inside the wall cavity from a slow leak. The landlord needs to open the wall and find the source.
The other rule of thumb: if the growth is in a bathroom or above a kitchen sink and you've never noticed a leak, there probably IS a leak — just a slow one. The landlord should send a plumber before you patch anything.
For everything else — the small black spots in a closet corner, the patchy discoloration on a window frame, the musty smell in a bedroom that turned out to be a 6-inch spot behind the dresser — the 4-step plan above gets it done in a weekend with under $30 in supplies. None of the spots I've cleaned this way have come back.
What it actually costs to mud and tape drywall covers the labor and material math if your patch ends up bigger than expected and you're pricing out hiring a handyman.
Small holes in ceiling repair guide covers the related fix for the kind of patch you'll do after cutting out the damaged drywall section.


Discussion (0)
Sign in to join the discussion