

My landlord called me last year to ask why there was a smell in the bathroom below my unit. The tenant was a nice guy who showered every day, didn't smoke, and didn't have pets. The smell was sewer gas, and the cause was a failed wax ring under the toilet, but the 360-degree bead of caulk I had applied four years earlier (following a YouTube video) trapped the sewer gas and hid the leak from view. That video was wrong for a renter because it didn't account for the need to detect failures. Here's what I should have done, and what I do now.
What Caulking a Toilet Actually Does (And What It Doesn't)
caulk around a toilet base does three things and one thing it does not. The three it does: blocks sewer gas from escaping under the toilet (the smell issue I caused), catches small water leaks before they rot the subfloor, and stops bugs from crawling up through the gap. The one thing it does not do: hold the toilet to the floor. The toilet is held by two bolts (called closet bolts) that screw through the base into a flange on the floor. caulk is a gasket, not an adhesive.
This distinction matters because a lot of online advice treats caulk like glue. If your toilet rocks when you sit on it, the problem is a loose closet bolt or a broken flange — will not fix that. If your toilet is rock-solid and the only issue is the gap between the base and the floor, caulk is exactly the right fix. The base of a standard toilet sits about half an inch off the floor with a gap that varies by toilet model.
Two notes before you start. If you rent, your lease may require landlord approval before any plumbing-adjacent work. the caulk itself is renter-maintainable in most leases (it's cosmetic and reversible), but the moment a leak is involved, that's a maintenance call, not a DIY. For more on the renter-vs-landlord repair split, see our guide to what wood siding repairs a renter should and shouldn't DIY — the same responsibility logic applies to any plumbing-adjacent fix. Also, if your toilet was professionally installed, leave the caulk to the pros or wait at least 48-72 hours before caulking. If you installed it yourself, wait 48-72 hours and perform a leak test (pour water around the base, check below for drips) before sealing. The wax ring needs time to settle, and caulking prematurely traps moisture and hides potential failures.
The 2 Lines of Caulk Every Toilet Needs (And 1 It Doesn't)
This is the part of the job that most articles get backwards. There are two common patterns for caulking a toilet base:
Pattern A: 360-degree full bead (don't do this). You run a continuous bead of caulk around the entire base of the toilet, sealing it to the floor on all sides. This is the pattern most YouTube videos show and most big-box store employees will tell you to do. The problem: if the wax ring under the toilet ever fails, water leaks straight onto the subfloor instead of visibly onto your bathroom floor. You won't notice until the subfloor is rotted through and the bathroom below has water damage. This is the pattern that caused my sewer gas problem four years later.
Pattern B: 270-degree partial bead with a 3-4 inch gap at the back (the right pattern for a renter). You run the caulk bead around the front and both sides of the toilet base, leaving a 3 to 4 inch gap centered on the back. The gap is on the side facing the wall. If the wax ring ever fails, water leaks visibly onto the floor where you can see it, you mop it up, and you call the landlord. The subfloor stays dry, you don't get a $3,000 surprise bill at move-out, and you don't poison the bathroom below with sewage. Think of it like a smile around the front of the toilet — the open back near the wall is where the caulk bead ends, so any future failure is visible instead of silent.
The gap is small enough that sewer gas and bugs still don't get through (they're held back by the front and side beads), and the visible leak path is wide enough to catch a real failure before it costs thousands. This is the pattern professional plumbers use when they install a toilet in a rental property, and it's the pattern my landlord told me to use after the fact.
What about that third caulk bead — the one between the tank and the bowl? That's a separate gasket (called a tank-to-bowl sponge gasket), not a caulk bead. If water is leaking from between the tank and the bowl, you replace the gasket, not add caulk. Adding caulk there traps moisture and rusts the bolts.
The 4 formulas Ranked for Toilet Base
Not all caulk is the same, and the difference matters in a wet, occasionally-cleaned bathroom. Here are the four types you'll see at the hardware store, ranked for this specific job.
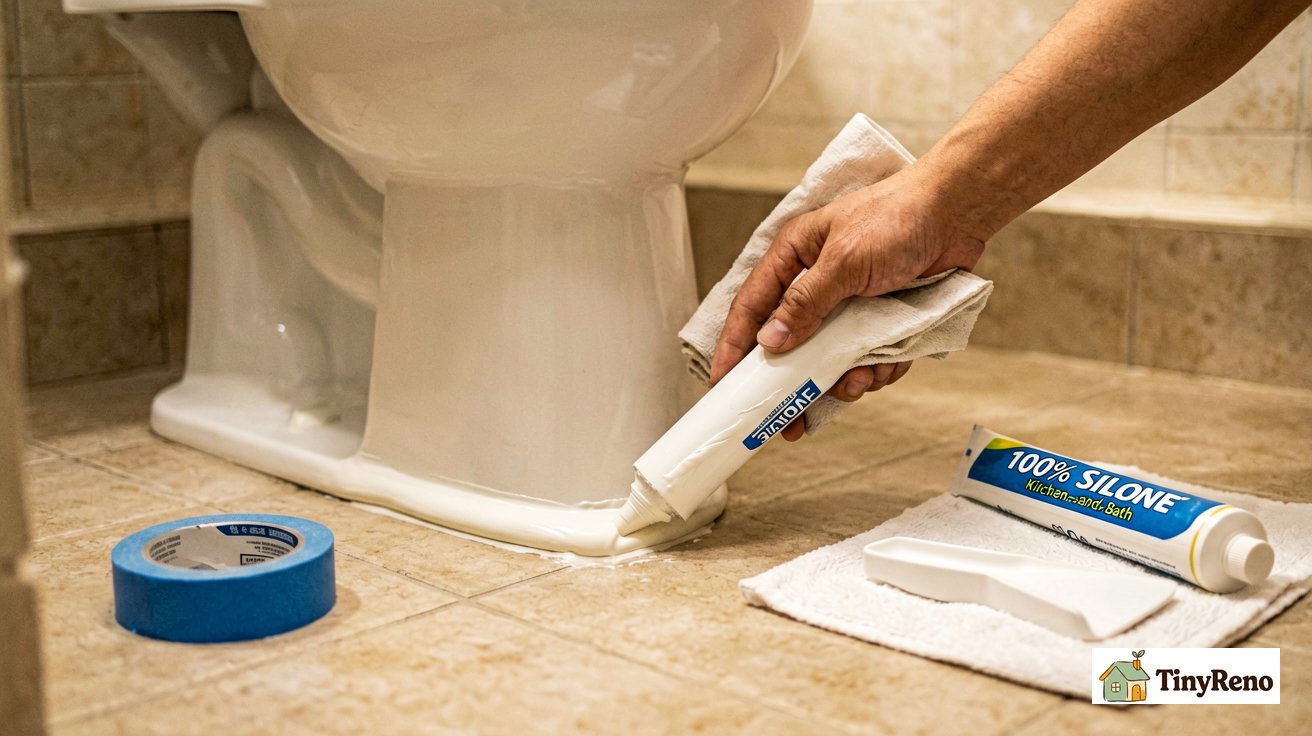
1. 100% silicone (kitchen-and-bath formula). This is the right answer for a toilet base. It's waterproof, it flexes slightly with the toilet (toilets move a tiny amount when you sit on them), it resists mold for 5-10 years, and it sticks to porcelain and tile. The GE Silicone II Kitchen & Bath and DAP Kwik Seal Ultra are both reliable and around $5 per tube. The catch: it doesn't paint, so pick a color that matches your floor or accept white.
2. Siliconized acrylic latex caulk. This is the second-best choice. It cleans up with water (silicone doesn't), it paints, and it's flexible enough for a toilet base. It won't last as long as pure silicone — typically 3-5 years in a wet bathroom before it needs to be redone — but it's much easier to work with if you've never caulked before. DAP Alex Plus is the standard pick. The catch: it can mildew at the edge where caulk meets the floor, especially if your bathroom doesn't have an exhaust fan.
3. Pure acrylic latex caulk (painter's caulk). Don't use this. It's cheap and easy to apply, but it shrinks, cracks, and mildews within a year in a bathroom. You'll be redoing the job in 12 months. If you already see mildew spots on the old caulk or the surrounding floor, see our 4-step mold cleanup guide before you reseal — caulk over mold and the mildew bleeds through within weeks.
4. Polyurethane caulk. Overkill for a toilet base. It's the right choice for concrete expansion joints and roof flashing, but it's harder to work with, harder to clean up, and the extra durability doesn't help in this application.
For 95% of renter toilet repairs, 100% silicone kitchen-and-bath in white is the right pick. If you've never caulked before and are nervous about cleanup, siliconized acrylic latex is a forgiving second choice.
How to Caulk a Toilet Step by Step
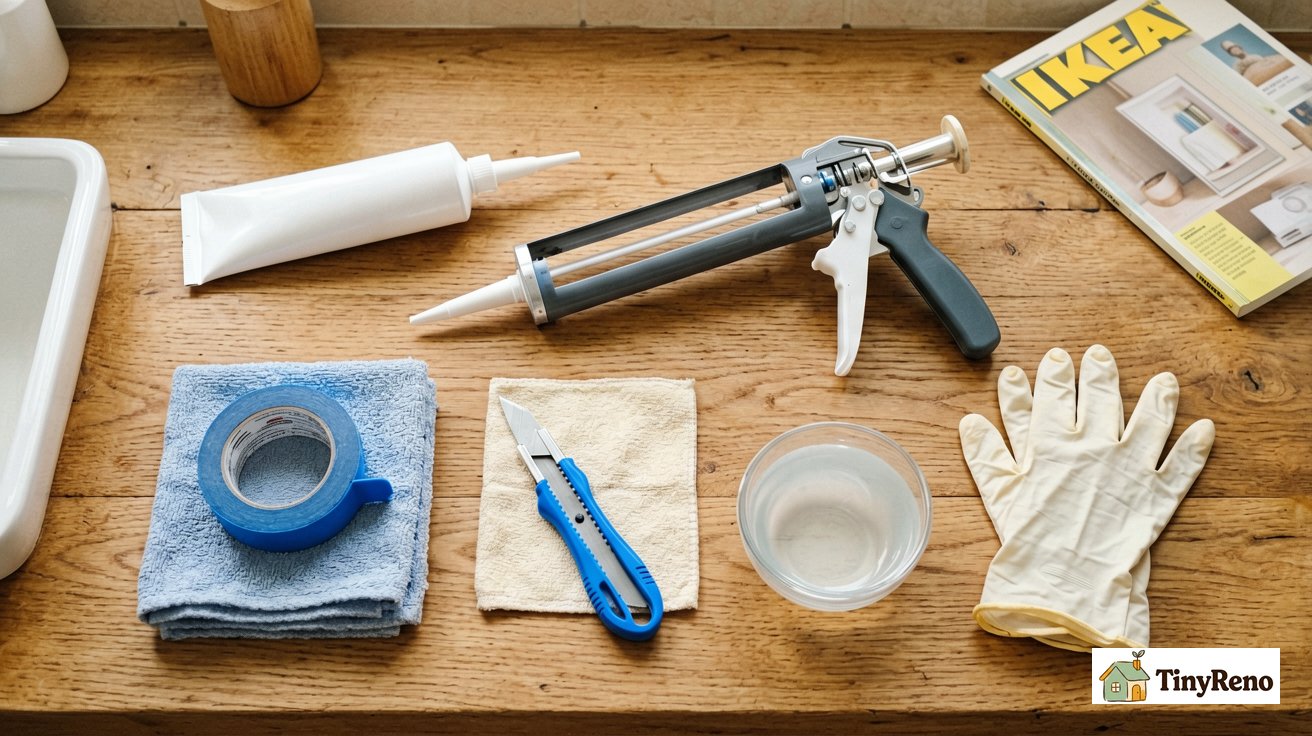
The job takes about 20 minutes the first time, 10 minutes after that. Tool list: one tube of 100% silicone kitchen-and-bath caulk, a caulk gun (about $5 if you don't have one), a utility knife, painter's tape, a damp rag, and a small plastic spoon or your finger with a wet rag wrapped around it.
Step 1: Remove the old caulk. If there's already caulk on the base, cut it out with the utility knife first. Score along the top edge (where caulk meets toilet) and the bottom edge (where caulk meets floor), then peel the strip away. Any leftover bits come off with the damp rag and a little scrubbing. Let the area dry completely — at least an hour — before applying new caulk. Optional leak test: if you have any reason to suspect the wax ring underneath (the toilet rocks, the floor feels soft nearby, the previous tenant mentioned leaks), pour a cup of water mixed with a few drops of food coloring around the base. Wait 30 minutes. If the colored water appears under the toilet, around the base from below, or on the bathroom floor below your unit, you have a leak. Do not caulk — call the landlord.
Step 2: Tape the floor and the toilet. Run a strip of painter's tape along the floor about 1/8 inch from where the toilet base meets the floor. Run a second strip along the toilet base about 1/8 inch up from the floor. The gap between the two tape strips is where the caulk goes. This isn't optional. The tape gives you a clean straight line on both sides and saves you from scraping caulk off the floor with a razor blade.
Step 3: Cut the caulk tube and load the gun. Cut the very tip of the caulk tube nozzle at a 45-degree angle. The hole should be about 3/16 inch wide — about the diameter of a pencil. Use the breaker seal tool on the side of most caulk guns to puncture the inner seal of the tube. Load the tube into the gun.
Step 4: Run the bead. Start at one side of the front of the toilet base. Hold the gun at a 45-degree angle and squeeze the trigger with steady, even pressure. Move along the base at a speed that lays down a continuous bead about 3/16 inch thick. When you reach the corner where the front meets the side, lift the gun, reset, and start the next side. Keep the gap open at the back (the 270-degree pattern from earlier).
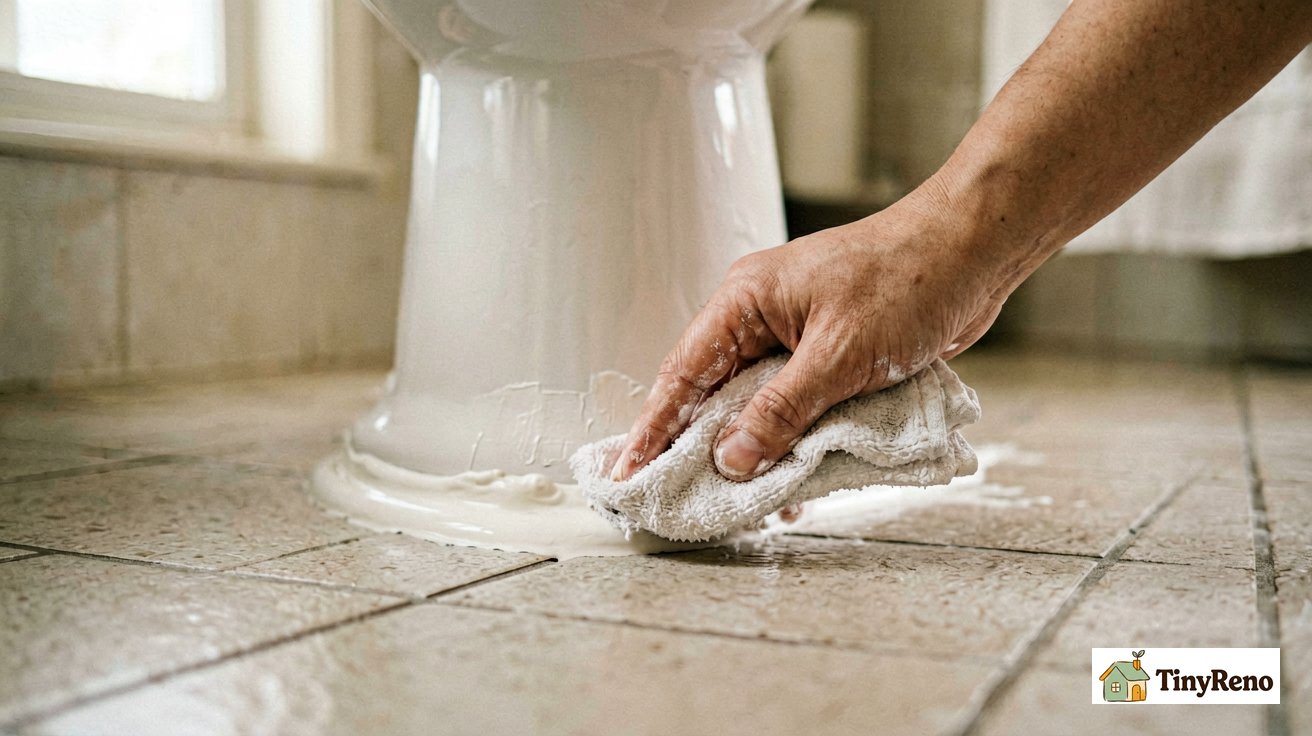
Step 5: Smooth the bead. Within 2-3 minutes of laying the bead (so before it skins over), smooth it with a dedicated caulking tool, the back of a plastic spoon, or a wet finger wrapped in a damp rag. Wet your tool or wrapped finger, drag it along the bead in one continuous motion to press the caulk into the gap and create a smooth concave surface. Wipe excess off the tool with the damp rag between passes. If using your finger, wash your hands thoroughly afterward — silicone caulk is fine on the wall but not great to leave on skin or under nails.
Step 6: Pull the tape. Pull the painter's tape off while the caulk is still wet — within 5 minutes of laying the bead. Pull it at a 45-degree angle away from the caulk bead. If any caulk smeared past the tape line, clean it up with the damp rag before it cures.
Step 7: Let it cure. Most silicone caulks require a full 24 hours to cure before exposure to water. While some "fast-cure" labels claim 3-6 hours, wait the full 24 hours in a humid bathroom to ensure a watertight seal. Check the label on your tube, but when in doubt, wait longer. Avoid flushing or splashing water near the bead during this window — premature exposure can compromise the seal before it's fully bonded.
The 3 Mistakes That Trap Water (And Grow Mold)
These three mistakes are how a job fails within a year. None of them are obvious until the caulk starts peeling.
1. The 360-degree full bead. Already covered above, but worth repeating: full perimeter seal traps leaks invisibly. If you moved into a rental and the toilet already has a 360-degree bead, leave it alone unless you're re-caulking for a different reason. Don't add to "fix" a missing section at the back.
2. Too much caulk in the gap. The gap between the toilet base and the floor is about half an inch. the caulk bead should fill that gap and slightly overflow on both sides — but not pile up. A thick piled-up bead looks messy, takes longer to cure, and the inner part may stay soft for weeks. If your bead is more than 1/4 inch proud of the floor, scrape it down with a utility knife before it cures.
3. Caulking over wet or dirty surfaces. needs to a clean, dry surface to bond. If you just scrubbed the floor with cleaner and there's any moisture left, wait. If there's mildew or soap scum, wipe with a 1:10 bleach-water solution, then let it dry. The most common reason a job peels off within a month is application over a wet or soapy surface — the caulk sticks to the moisture film, not to the floor, and lifts as the moisture evaporates.
If your job fails and starts peeling within a year, the fix is to cut out the old bead completely with a utility knife, clean the area, let it dry overnight, and redo. Don't just caulk over the failed bead — the new will fail in the same place for the same reason. The full cost of a 360-degree bead mistake — water damage, subfloor replacement, downstairs neighbor's ceiling repair — lands in the $2,500-4,000 range, and almost always comes out of the security deposit. The 270-degree pattern with a leak path is the single cheapest insurance you can buy on move-out day, and the same patience-beats-speed rule applies to any patch job: how long for spackle to dry covers the same 24-hour cure principle for wall patches.


Discussion (0)
Sign in to join the discussion