

I helped my brother with a full drywall ceiling install in his garage last fall, and we did it the "right" way every tutorial told us: ceiling first, walls second. Two months later the seam where ceiling meets wall cracked open in a 4-foot line. He called me, frustrated, and asked what we did wrong. The answer was nothing — for a full-room new install, ceiling first is correct. The problem is that most renters aren't doing full-room installs. They're patching one wall, or replacing a chunk after a leak, and the "ceiling first" rule stops being the right rule the moment your project shrinks to one surface. Here's the drywall version I wish we'd had before that garage.
Why the Drywall Order Matters (And When It Doesn't)
Two things happen when you drywall a ceiling and a wall in the same drywall project. First, overhead mud shrinks as it dries — every coat pulls back a tiny bit, and that shrinkage shows up at the seam where the ceiling panel meets the wall panel. Second, when you sand the overhead (or wet sponge it), dust falls straight down onto the wall panels you haven't finished yet. That dust interferes with the next coat's bond. The "ceiling first" rule exists to handle both problems in the right sequence: finish the harder surface first while the wall is still clean, and let the ceiling's shrinkage happen before you tape the seam.
But here's the part most guides skip: the rule only matters when ceiling and walls are being finished in the same project. If you're only finishing one — patching a hole in the ceiling, replacing a chunk of wall after a leak repair — the order rule stops applying. The seam between your patch and the old drywall already exists; there's no fresh shrinkage waiting to crack it. And dust on the surface you're about to cover with new mud is a different problem than dust on a wall you're trying to keep paint-ready.
Full New Install: Always Overhead First
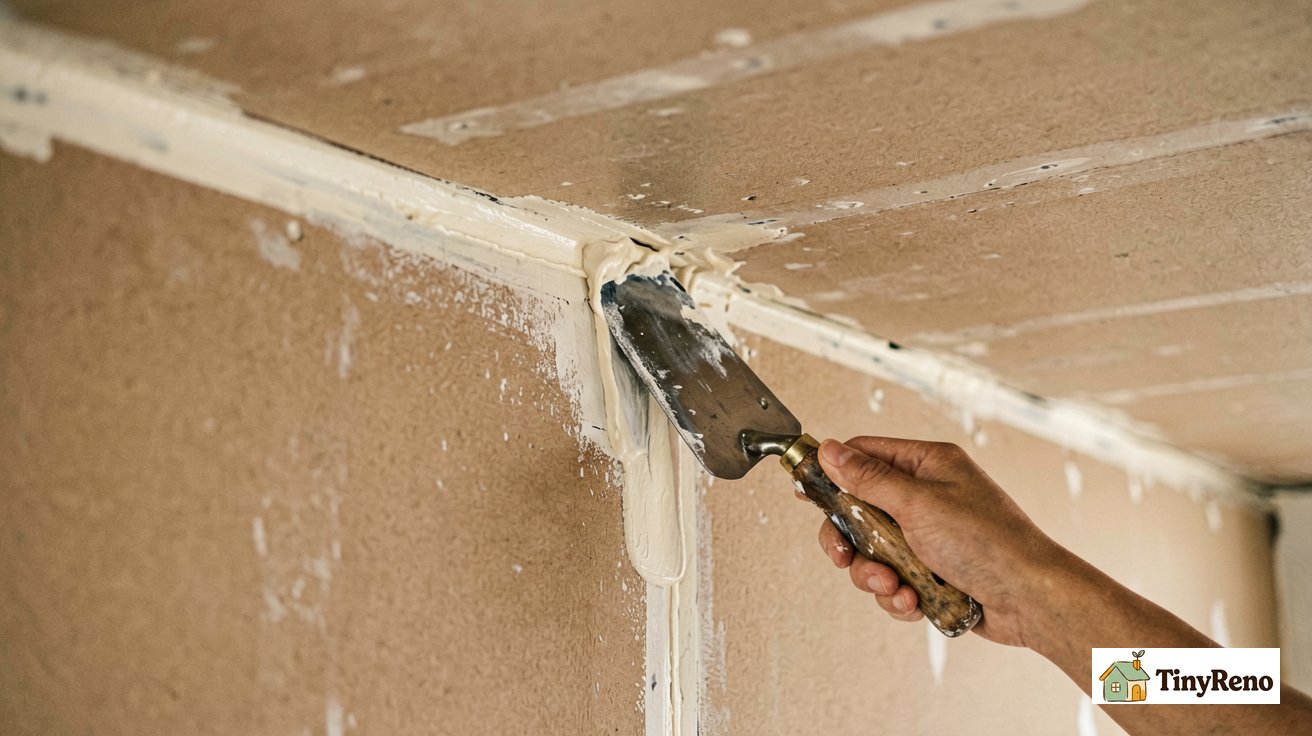
If you're drywalling an entire room — garage, basement, addition — the answer is unambiguous. Ceiling first, walls second, and here's the exact reason in three steps.
Step 1: Hang the ceiling. Get the ceiling panels up and screwed into the joists before you start any wall work. The walls give you a straight reference edge to measure against, and the overhead panels are easier to position when there's no wall in the way.
Step 2: Tape and mud the ceiling seams only. Don't tape the ceiling-to-wall seam yet. Just finish the overhead's own panel-to-panel joints and let them cure fully. This is where the shrinkage happens — every coat on the ceiling pulls back a little as it dries, and if you taped the ceiling-to-wall seam immediately, that seam would crack within weeks as the overhead surface settles.
Step 3: Hang, tape, and mud the walls last. Crucially, delay taping the ceiling-to-wall seam until the ceiling mud has fully cured (48-72 hours in dry conditions). Taping too early is what causes those 4-foot cracks. Once the ceiling is fully cured, do the walls. The last step is taping the ceiling-to-wall seam, which is now bonded to two stable, cured surfaces and won't crack from shrinkage. For tips on getting this seam invisible, the butt joint feathering guide covers the same technique in detail.
This is the sequence my brother and I followed. It's the correct sequence. The crack we got two months later wasn't from the order being wrong — it was from rushing the cure time between the ceiling coats and the seam taping. More on that in a minute.
Patching One Wall: Walls First (Or Just Walls)
Most renter drywall projects aren't full-room installs. They're patches. A doorknob punch, a leak stain, an anchor hole that got too big. For these drywall projects, "ceiling first" is meaningless — you're not touching the ceiling at all. The order rule collapses to just one question: when you have a wall patch that runs close to the ceiling line, does it matter whether you do the wall first or the ceiling first?
For a wall-only patch, do the wall. There's no ceiling work to coordinate with, no seam shrinkage to wait out. The only ceiling-related concern is the top edge of your patch if it butts up against the ceiling line — and even then, the rule is the same as any other seam: tape it last, after both surfaces are stable. If your ceiling has texture (popcorn, orange peel, knockdown) and your patch sits close to it, you'll want to read about matching popcorn texture after a wall patch before you start, because matching texture is often harder than the mud work itself and determines whether your repair is invisible or obvious. For comprehensive techniques on repairing texture without making it worse, the popcorn ceiling texture repair guide is the one I followed.
Patching an Overhead Section: Overhead First, Obviously
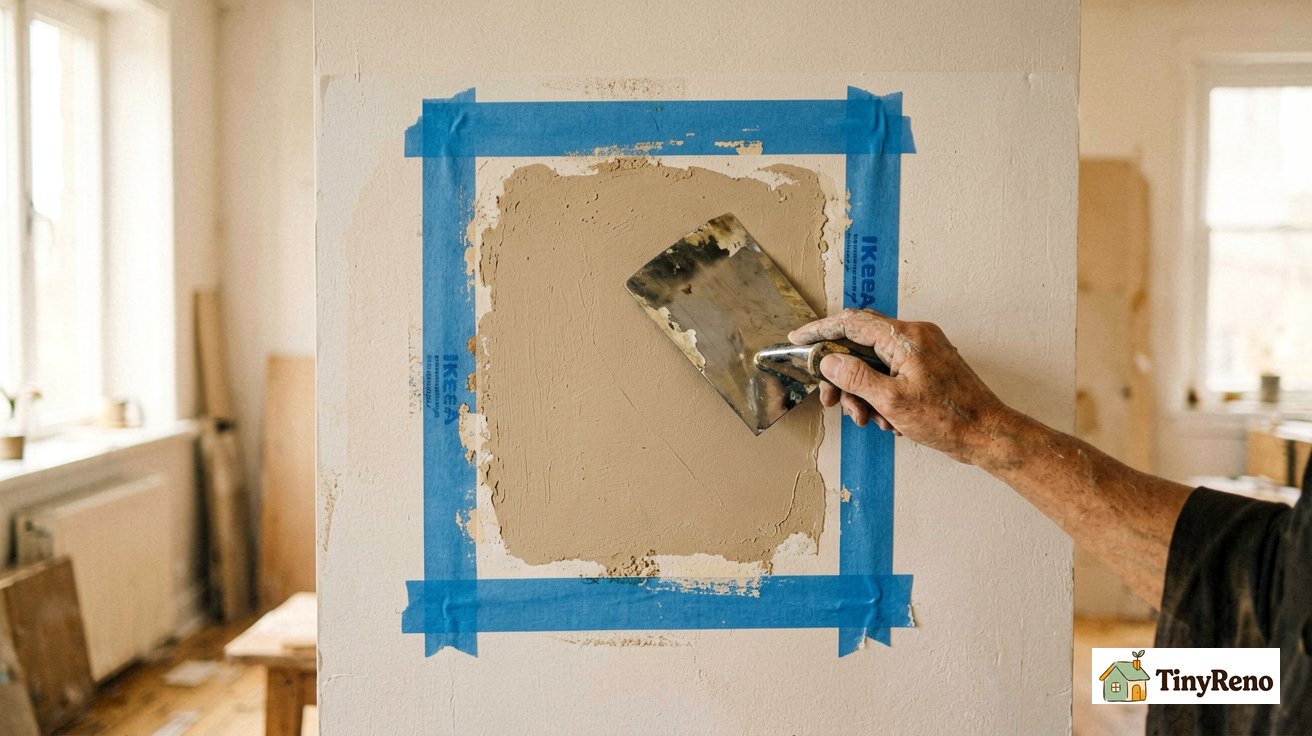
Sometimes the patch is on the ceiling — a bathroom fan replacement left a square hole, a small leak stained and softened a chunk, you drilled in the wrong spot while hanging something. For ceiling-only drywall finishing patches, the answer is the same as the full-room rule but reduced to one surface: do the ceiling, let it cure fully, then tape the seam to the surrounding (existing) drywall.
The catch with ceiling patches is gravity. Drywall mud sags. A thick coat on an overhead surface will slump before it dries if you lay it on too heavy, and you end up with a low spot that needs a third coat to level. Two thinner coats always beat one thick coat on overhead work, even though it feels slower. If you're patching a hairline crack that runs across the ceiling (different problem than a missing chunk), the hairline crack guide walks through when cracks are cosmetic versus when they're a structural warning sign.
What Happens When the Order Is Wrong (And How to Fix It)
My brother's garage crack was the classic symptom of a too-soon seam: ceiling mud had been coated but not fully cured when we taped the ceiling-to-wall seam. (If you're working on plaster walls instead of drywall — different material, similar principle — the plaster wall hanging guide covers the stud-finding and weight limits that apply once the repair is done.) As the overhead surface continued to shrink over the next two months, the seam tape lost its bond and a 4-foot crack opened along the joint. If you see this in your own work, the fix is straightforward but tedious.
Step 1: Cut out the failed tape (usually paper tape in ceiling seams). Use a utility knife to slice along both edges of the cracked tape strip and pull it off. When re-taping, use high-quality paper tape rather than fiberglass mesh. Paper tape creates a stronger mechanical bond with the mud and is less prone to "telegraphing" shrinkage cracks over time. You'll likely take some paper facing with it — that's fine, you'll repair it in the next step.
Step 2: Let everything fully cure. If the crack appeared within a month of the original work, the underlying coats probably weren't cured out either. Don't just wait a set number of days; test it. In dry indoor conditions, wait at least a week. In humid climates or unheated spaces, wait two weeks or until a moisture meter reads under 12% in the repair area. Better yet, perform the "finger test" from my spackle drying guide: if the patch feels cool or leaves residue, it's not ready.
Step 3: Re-tape with a slight gap. When you re-tape, press the new tape into a thin bed of mud but don't squeeze it tight against the ceiling edge. Leave a hairline gap — about 1/32 of an inch — between the tape and the ceiling panel. This gives the ceiling room to keep shrinking without tearing the seam again. Feather the mud wide on both sides so the repair blends into the surrounding surface.
Step 4: Sand, prime, and paint. Light sanding between coats, prime the repair with a sealing primer (not just paint — the mud will flash through regular paint), then two finish coats. For small ceiling patches near textured surfaces, this is also where the small ceiling hole guide helps — it covers texture matching and the priming sequence that prevents the "ghost patch" look where every repair shows through the paint.
The drywall repair takes a weekend if you're not in a hurry. The prevention takes one extra day of cure time before you tape the drywall seam. Worth it.


Discussion (0)
Sign in to join the discussion