

I dry sanded a hallway patch in my last apartment and spent the next two days finding dust on every surface in the unit. The hallway. The kitchen. Inside the silverware drawer. My landlord called it "the white invasion" and took $60 off my deposit for the deep clean. The next patch I did, I switched to wet sanding with a damp sponge, and my downstairs neighbor didn't even know I was working. That's when I understood: dry sanding is faster, but wet sanding is what renters actually need. Here's how to do it without ruining the patch.
Why I Switched From Dry Sand to Wet Sand (And When I Switch Back)
Dry sanding is faster, period. A pole sander with 150-grit paper can level a full coat of joint compound in under two minutes per square foot. The trade-off is dust. Lots of dust. Drywall dust is so fine it stays airborne for hours, slips through closed doors, and coats every horizontal surface in your home with a thin white film. If you live in a small apartment, work in a space without outdoor ventilation, or have roommates, dry sanding is a fight you probably won't win.
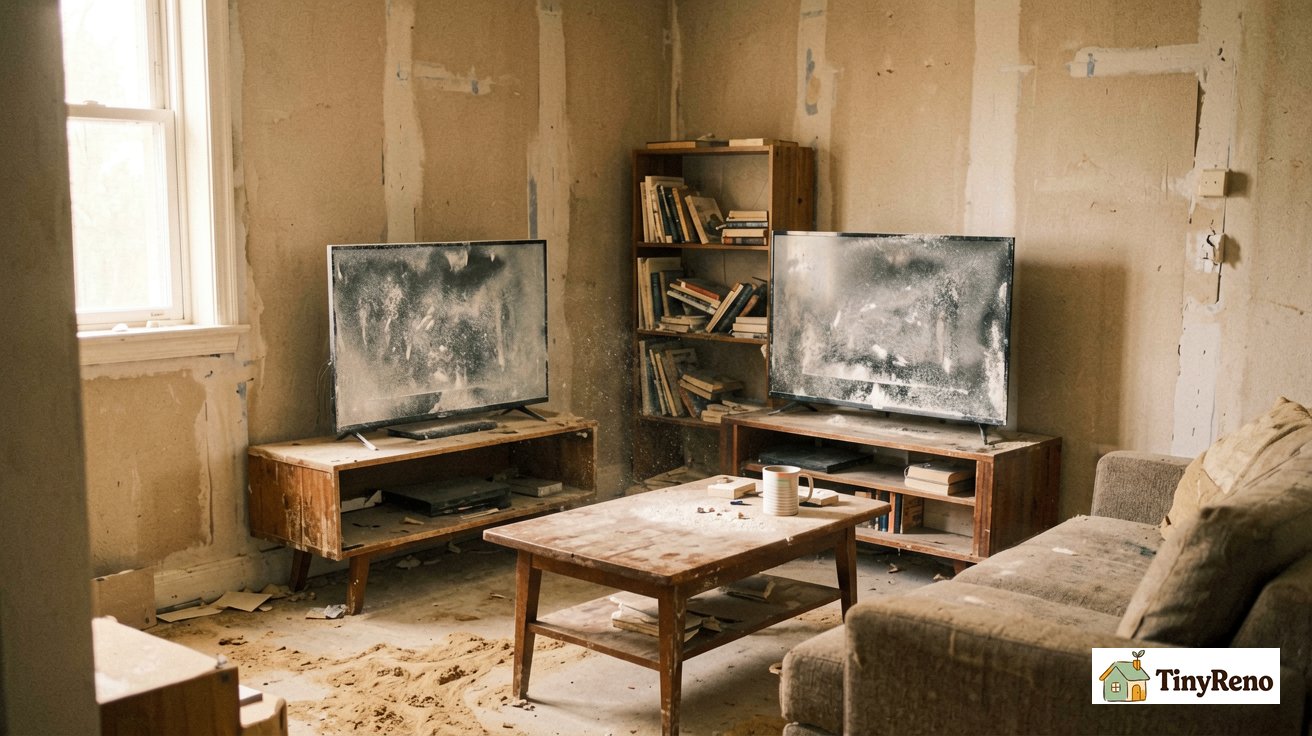
Wet sanding trades time for dust control. Instead of abrading the dried mud with sandpaper, you use a damp (not soaking) sponge to slowly dissolve and smooth the high spots. The dust becomes a watery paste that wipes up with a rag instead of floating through your HVAC system. It takes about 30% longer than dry sanding for the same area, but you skip the deep clean afterwards — which is where most of the time savings actually come from.
The catch with wet sanding is that it doesn't work for every situation. If your patch has high spots that need aggressive leveling (more than 1/16 of an inch proud of the surrounding wall), dry sanding is the only practical option — wet sanding can't remove material that fast. And if your patch is near a freshly painted surface or finished wood, the moisture can wick in and stain or warp the adjacent material. For most renter patches though, where the work is a single coat over a small hole or seam, wet sanding is the right call. The trick is in the technique, which is what the rest of this guide covers.
Tools You Need (And What You Don't)
Wet sanding needs almost no specialized equipment. Here's what I keep in my wet-sanding kit, what I skip, and why.
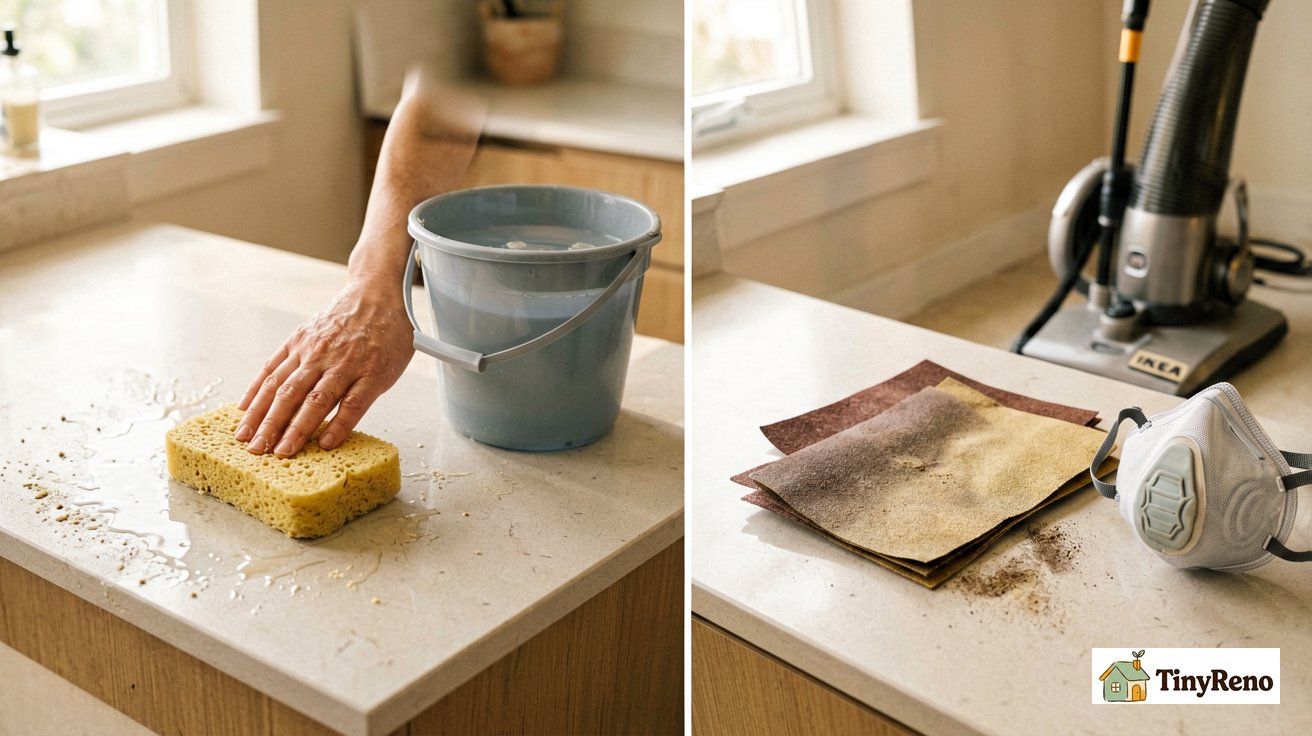
- A large dense-cell sponge. Not a kitchen sponge — those fall apart in two passes. Get a dedicated drywall sponge (the kind sold in the paint section for $3-5). Look for a dual-sided version: one side with a coarser grit for initial smoothing, and one side with a fine grit for the final finish. The denser the cell structure, the smoother the finish. I use the yellow Hyde Tools brand because the grit texture is built in and doesn't shed.
- A bucket of clean water. Not a full bucket — a quart or so is enough for one patch. You'll rinse the sponge often, so the water gets murky fast. Change it every 5-10 minutes of sanding, or sooner if it's visibly grey.
- Clean lint-free rags. Microfiber works, old t-shirts work, paper towels don't (they shred and leave fibers in the wet mud). You need at least two — one for wiping the wall as you sand, one for drying the wall at the end.
- A mud pan or small trowel. Optional but useful. If you have a low spot that needs a fill coat, you can work the wet sanding residue out of your sponge and use it as filler. This is a pro trick that saves a trip back to the joint compound bucket. Pro Tip: That grey paste in your rinse water? Let it settle, pour off the water, and you've got a DIY "skim coat" mud for tiny touch-ups. It's not structural, but it's perfect for filling pinholes.
What you don't need: sandpaper, a pole sander, a dust mask, plastic sheeting, or a HEPA vacuum. If you're wet sanding, none of those earn their keep for a small renter patch.
6-Step Wet Sanding Method That Won't Ruin the Patch
This is the sequence I use on every patch I do now. It's slower than dry sanding per minute, but the cleanup at the end is five minutes instead of five hours.
Step 1: Let the mud cure fully.
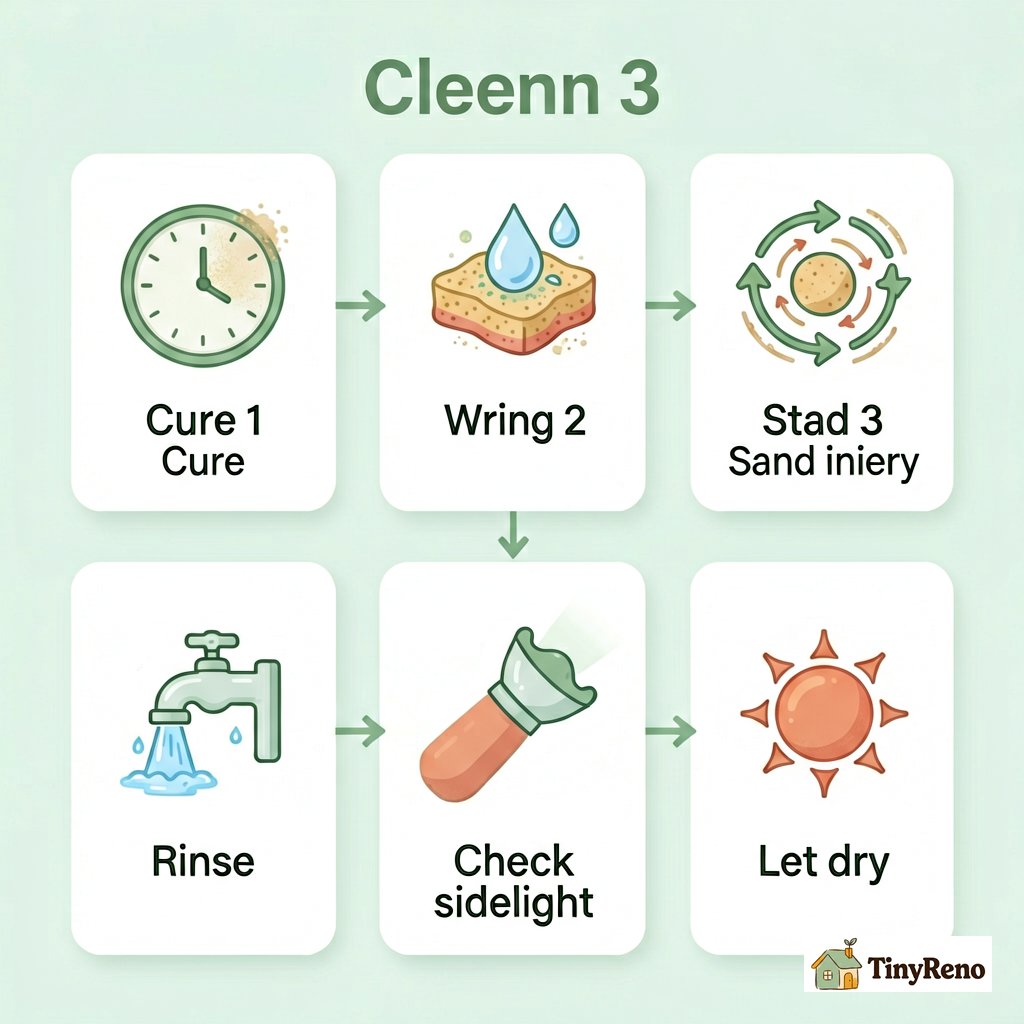
This is non-negotiable. Wet sanding works by dissolving the surface of the joint compound (the material used for drywall seams and large patches) slightly. Note: This is different from fast-drying spackle. If the mud isn't cured, you'll dig into the patch instead of smoothing it. For most joint compounds, that's 24 hours minimum in dry indoor conditions. For deep fills or humid bathrooms, give it 48 hours. If you're using spackle for a small nail hole, the dry time is shorter (check the spackle dry time guide), but for anything requiring joint compound, patience is critical. Press a fingernail into a hidden edge of the patch — it should feel hard and cool, not soft or tacky. For deeper context on what "cured" actually means across different products, the joint compound vs drywall compound guide has a section on cure times by product type.
Step 2: Wring the sponge until it's damp, not wet. This is the most common beginner mistake. A soaking wet sponge will flood the patch, dissolve too much mud, and leave you with a low spot that needs a fill coat. Wring the sponge until it stops dripping, then wring it once more. The sponge should feel like a wrung-out washcloth — cool and damp, but not dripping when you hold it over your hand. Quick Test: After wringing, press the sponge against the back of your hand. If it leaves a wet spot, it's too wet. It should feel cool and damp, but not transfer water.
Step 3: Sand in circles with light pressure. Don't push. The sponge does the work. Use overlapping circular motions across the patched area, keeping the sponge flat against the wall. You'll see a thin paste form on the wall — that's the dissolved mud. Wipe it off with a clean rag every few passes so you can see the surface underneath. The goal is to blend the patch into the surrounding wall until you can't see a ridge by running your hand across it sideways.
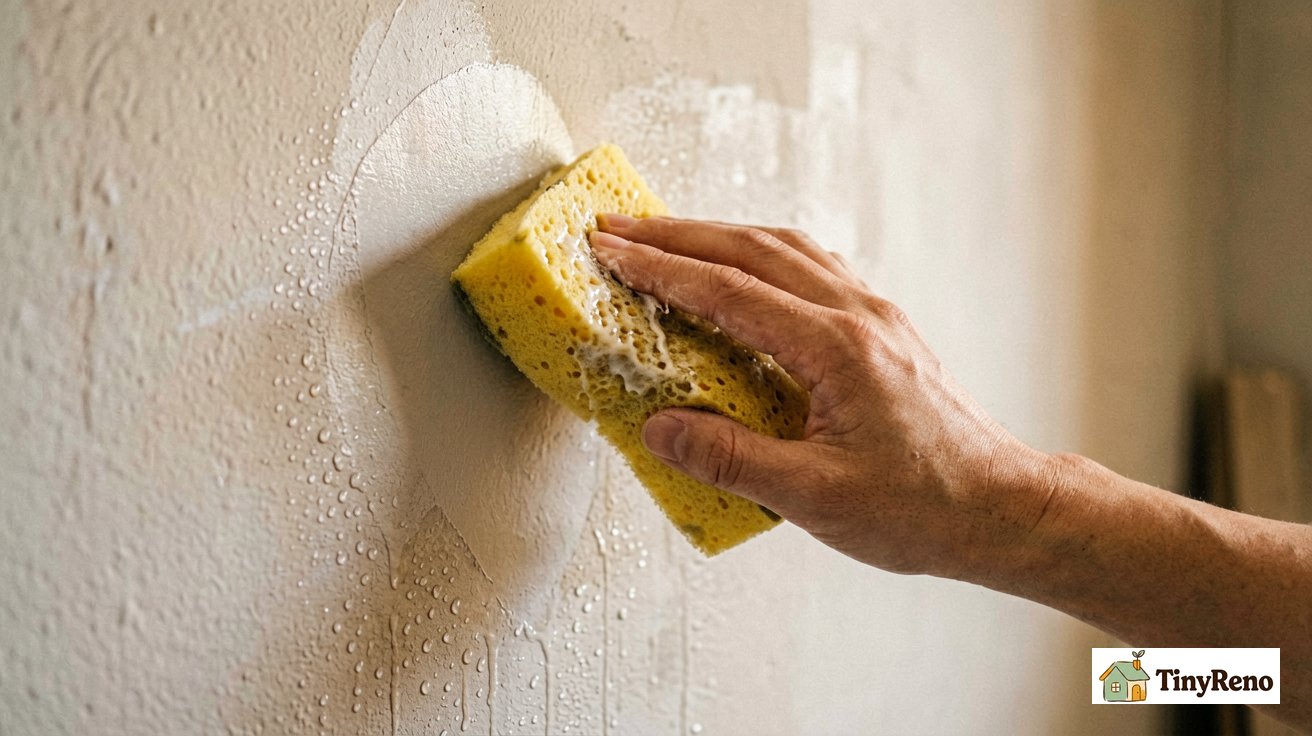
Step 4: Rinse and repeat. When the sponge starts to feel loaded with mud (the surface gets slick instead of gritty), rinse it in your bucket until the water runs clear, wring thoroughly, and keep going. A clogged sponge just smears mud around instead of removing it.
Step 5: Check with a bright sidelight. Turn off the overhead lights and hold a bright flashlight or work light flat against the wall, parallel to the surface. The shadow will reveal every high spot and low spot you missed. Hit those with the sponge before the wall dries.
Step 6: Let the wall dry completely before priming. Wet sanding leaves moisture in the wall surface. Don't rely solely on the clock. In dry conditions, 2-3 hours may suffice, but always verify. Touch the patch — it should feel room temperature, not cool. Coolness indicates residual moisture. In humid weather, this could take 12-24 hours. Priming over damp mud is a critical error — the primer won't bond, leading to peeling. When in doubt, wait longer.
Wet Sand vs Dry Sand: Honest Trade-Off Table
This is the comparison I wish I'd seen before I dry sanded that hallway. The "right" method depends on what you're optimizing for.
| Dimension | Wet Sand Wins | Dry Sand Wins |
|---|---|---|
| Dust control | By a lot. Wet paste wipes up. | — |
| Speed | — | ~30% faster per minute |
| Finish quality (small patches) | Roughly even | Roughly even |
| Cleanup time | 5 minutes wall + tools | 1-3 hours vacuuming |
| Risk of patch damage | — | Slight edge (only grits what it touches) |
| Cost | $3-5 sponge | $1-2 sandpaper sheets |
(If you're patching as part of a bigger drywall project — say, your first ceiling install or a wall rebuild — the ceiling-or-walls-first guide covers the install order that determines how your seams will behave later.) For a renter doing one or two patches in a furnished apartment, wet sand is almost always the better trade. For a contractor doing whole-house finishing, dry sand is faster and the dust is part of the job.
4 Situations Where Wet Sand Will Fail You
Wet sand isn't magic. There are specific situations where it can't do the job and you need to switch back to dry sand or call a pro.
Warning: Wet sanding in any of these situations will damage your patch or your surrounding surfaces. Skip to dry sand or call a drywall pro.
1. High spots over 1/16 inch proud of the wall. Wet sand smooths, it doesn't level. If your patch is sticking out noticeably, you need abrasive removal. Use 100-grit dry sandpaper first to knock down the high spot, then finish with a wet sand pass for the blend.
2. Patches on a ceiling or overhead surface. Gravity is not your friend. Water runs down your arm, drips on the floor, and the patch turns into a slow mud slide before you can blend it. For ceiling patches, always dry sand — wear both a dust mask and safety goggles, because dust falls straight down into your face and eyes. The small ceiling hole guide covers the full dry-sand workflow for overhead work.
3. Top coat over wallpaper, paint, or stain. If your patch butts up against a finished surface, the water from wet sanding can wick under the paint or wallpaper edge and cause peeling, staining, or bubbling. Mask the adjacent surface with painter's tape and a plastic edge guard before you wet sand.
4. Pre-existing hairline cracks you want to feather in. Wet sanding a crack can soften the joint compound enough that it reopens when the wall flexes. For cracks that move with the seasons, dry sand and a flexible elastomeric filler is a more durable repair. The settlement crack guide covers how to tell which cracks are stable versus which keep moving.
Outside those four cases, wet sand is the move. Your deposit will thank you, and so will anyone living below you.


Discussion (0)
Sign in to join the discussion