

I finished my first bathroom drywall mud patch on a Sunday afternoon and painted over it Monday morning, because the surface felt dry. By Wednesday, the paint had bubbled, the tape was lifting, and a hairline crack had opened along the entire butt joint. I had to scrape the whole thing off and start over — this time waiting three full days before priming. The drywall repair took 30 minutes. The re-do took a weekend. Mud dry time isn't a suggestion; it's the difference between a fix that holds and one that comes back to bite you.
Mud ≠ Spackle (The 30-Second Test That Saved My Next Repair)
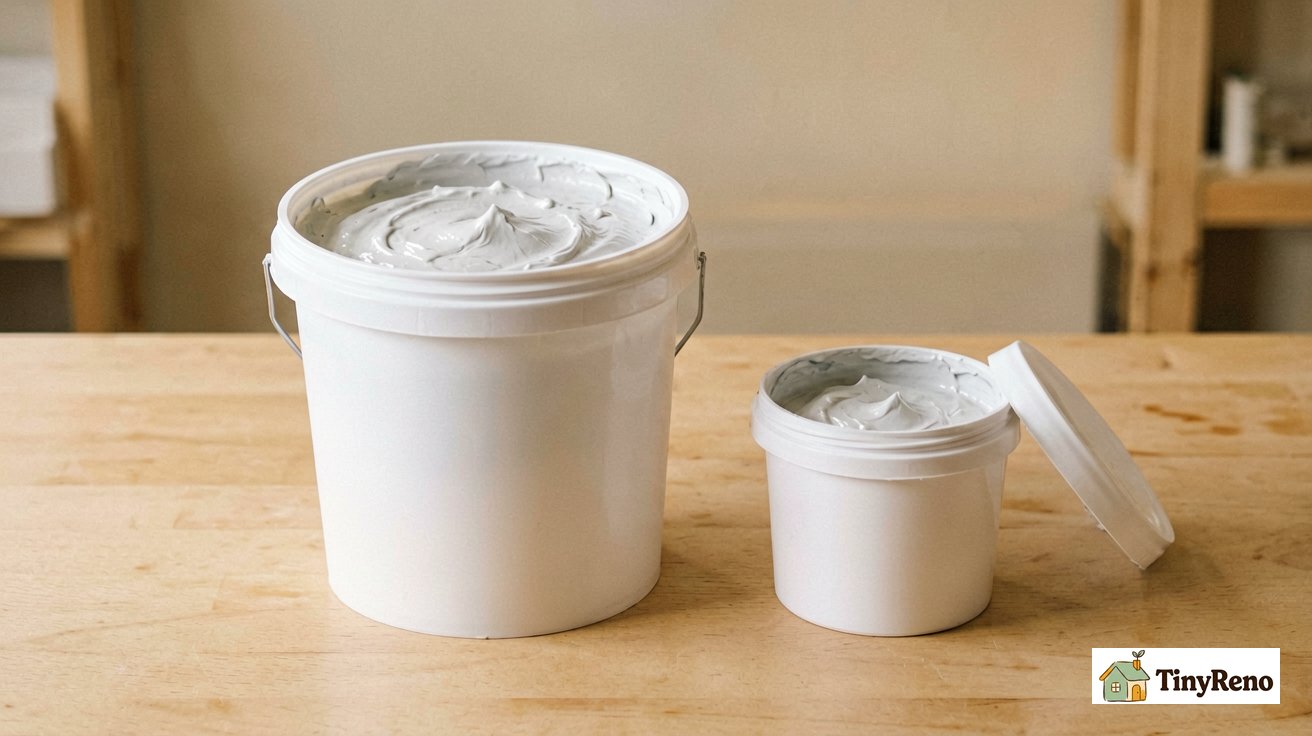
Drywall joint compound and spackle look almost identical in any drywall aisle in the bucket, and most DIY guides use the names interchangeably. They are not the same material, and treating them the same will wreck your patch. Joint compound is the heavier, slower-drying material you use for taping drywall seams and filling larger gaps. Spackle is the lighter, fast-drying patching compound sold in small tubs for nail holes and tiny dents.
Here's the 30-second test that tells you which one you're holding. Scoop a small amount onto your putty knife and hold it sideways. If the compound slumps off the knife within 5 seconds, it's spackle — light body, fast set. If it stays put on the knife for 30+ seconds without sliding, it's joint compound — heavier, designed to hold a trowel-shaped edge on a vertical wall seam. If you ever see a difference, you'll never mix them up again. The joint compound vs drywall compound guide has a fuller breakdown of the chemistry, but the putty-knife test is the one I actually use.
3 Coat Dry Times I Measured (Tape / Fill / Finish)
Most guides give you a single "24 hours" answer and call it done. That's wrong for half the situations you'll actually be in. Dry time depends on three things: the coat's purpose, the room's humidity, and how thick you applied it. I timed each of the three coats on my last bathroom patch and recorded the actual hours until each was ready for the next step, under four different conditions.
Drywall tape coat (the layer over the mesh or paper tape on the seam) is the thinnest and dries fastest. In a dry indoor room (40-50% humidity, 68-72°F), it was ready for the next coat in 8-12 hours. In a humid bathroom (60-70% humidity), it took 18-24 hours. In an unheated basement in winter, it took 36+ hours. The tape coat is forgiving — you can usually push it slightly wet and still get a good bond.
Drywall fill coat (the second coat that builds up the seam so it's flush with the wall) is thicker and slower. In dry conditions, 16-24 hours. In humid conditions, 24-36 hours. In cool basement conditions, 48+ hours. This is the coat most people rush, and it's the coat that causes the most failures. The fill coat has to be fully cured before the finish coat goes on or you'll get shrinkage cracks exactly where the seam is.
Finish drywall mud coat (the final thin skim that feathers out to the wall surface) needs the longest cure because it's the one you'll sand and paint over. In dry conditions, 24 hours minimum — I waited 30 to be safe. In humid conditions, 36-48 hours. In cool basement, 60+ hours. If you're wet sanding like I now do, the finish coat needs to be the driest of the three — wet sanding works by dissolving the surface slightly, so any uncured mud underneath will deform. The spackle dry time guide has the equivalent timings for small spackle patches, which are typically half these numbers because spackle is formulated to set faster.
5 Ways to Speed Up Dry Time (And 2 That Don't Actually Work)
There are five reliable ways to make mud cure faster, and two popular tricks that look like they work but actually cause problems later. Here's the honest list.
- ✅ Apply thinner coats. This is the single most impactful factor. Two thin coats dry completely in less total time than one thick coat that looks faster. A thick coat develops a dry "skin" on top while the interior remains wet for days, leading to inevitable cracks and paint failure. Always prioritize thin applications over any other drying hack.
- ✅ Pick the right drywall mud for the climate. For humid bathrooms or basement work, use setting-type drywall compound (Durabond 90 mentioned below)
- ✅ Run a box fan in the room. Moving air carries moisture off the surface 30-40% faster than still air. Point the fan at the patch, not at yourself. This is my default method for any patch in dry indoor conditions.
- ✅ Run a dehumidifier. Drops the room humidity below 40%, which pulls moisture out of the mud much faster. Especially useful for humid bathrooms or basement work. A 30-pint dehumidifier costs $80-120 and pays for itself the first time you use it.
- ✅ Pick the right drywall mud for the climate. For humid bathrooms or basement work, use setting-type drywall compound (Durabond 90 mentioned below)
- ✅ Run a box fan in the room. Moving air carries moisture off the surface 30-40% faster than still air. Point the fan at the patch, not at yourself. This is my default method for any patch in dry indoor conditions.
- ✅ Keep the room warm (above 65°F). Cold air holds less moisture and slows the chemical curing reaction in the mud. A space heater in an unheated basement drywall space cuts dry time by a third. Don't crank it above 85°F though — too hot causes the surface to skin over while the interior stays wet.
- ❌ Use a hair dryer or heat gun. This is the trick that looks like it works and causes the failure I described in the intro. A hair dryer skins the surface in 10 minutes while leaving the interior wet. You paint over it, the interior stays wet for days, and the paint bubbles off when it finally cures. Don't do it.
- ❌ Open windows in humid weather. If it's 85°F and 80% humidity outside, "airing out" the room is bringing humid air in. The mud will actually dry slower than if you'd closed the windows and run the dehumidifier.
The first five are all things I use regularly. The last two are mistakes I've personally made and learned from.
What Happens When You Paint Over Uncured Mud (And How to Fix It)
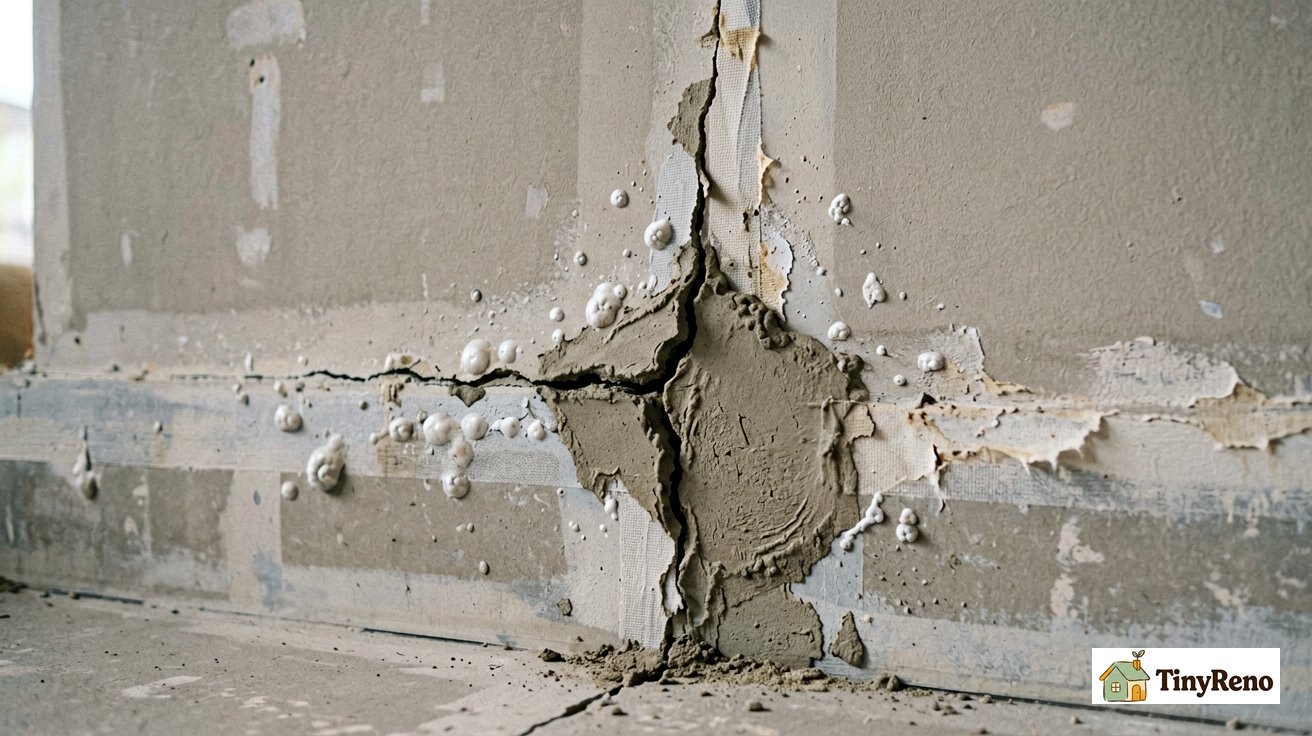
Three things happen, in order, when you paint over mud that hasn't fully cured. Knowing the order tells you how bad the damage is and whether you can fix it without starting over.
Q: What does the drywall failure look like first? Small bubbles appear in the paint film 12-48 hours after you painted. These are tiny pockets where moisture trapped under the paint tried to escape. They're a warning sign, not yet a structural failure.
Q: What happens next in a drywall repair? The bubbles break open and the paint peels back in small flakes. Underneath, the joint compound is still soft — you can press a fingernail into it and leave a dent. At this point you have to stop and let it cure, because anything you do over the soft mud will fail again.
Q: What happens if you paint over a drywall patch again anyway? The seam tape starts lifting at the edges within a week. A hairline crack opens along the seam where the tape has detached from the wall. This is where I ended up with my bathroom patch — a 4-foot crack down the butt joint. The repair at this point requires cutting out the lifted tape and starting over. The ceiling-or-walls-first guide covers the install sequence that determines whether your seams are even fixable at this stage.
How to fix it: scrape off all the bubbled paint and any soft mud. Let the patch cure fully (back to the time table in the previous section). Re-tape if the old tape has lifted. Re-mud. Re-prime with a high-quality sealing primer (like Zinsser B-I-N or Kilz). This step is critical. Primer seals the porous mud, prevents the topcoat from soaking in unevenly (flash-through), and creates a stable barrier. Never skip primer over a patched seam. Then paint.
How to Tell If Your Mud Is Dry in Humid or Cool Conditions
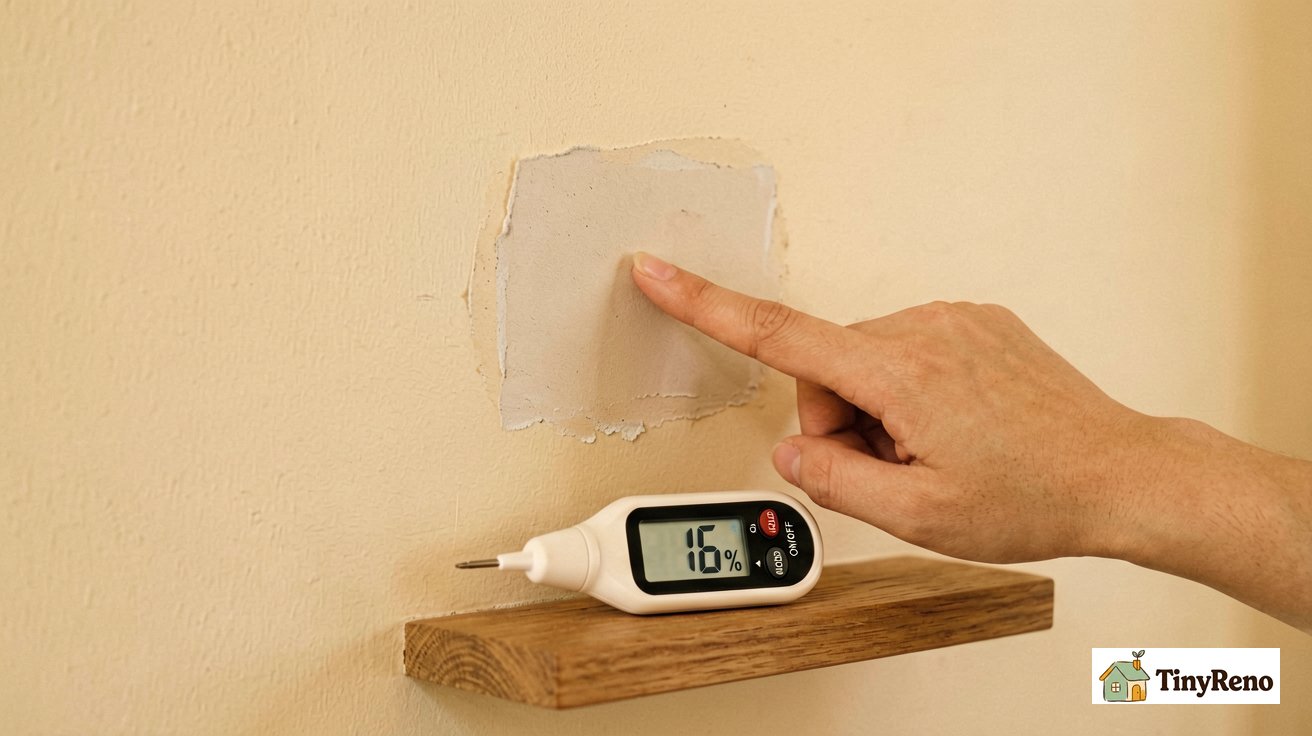
When the calendar says your mud should be dry but the room feels damp or cool, the calendar is lying to you. Three reliable tests tell you whether the drywall patch is actually ready for the next coat, regardless of what the clock says.
The finger test. Press a fingernail firmly into a hidden edge of the patch — under a corner where no one will see, or along the bottom edge near the floor. If the nail leaves a dent, the mud isn't cured. If it feels hard and the nail leaves no mark, it's ready. This is the drywall test I use 90% of the time because it's instant and requires no equipment.
The temperature test. Touch the patch with the back of your hand. If the patch feels cooler than the surrounding wall, it's still evaporating moisture. When it feels the same temperature as the rest of the wall, it's dry. This works because evaporating moisture cools the surface, exactly like how sweat cools your skin. It's not as precise as a meter, but it's free and fast.
The moisture meter test. If you do drywall work often enough to justify a $30 pinless moisture meter, this is the gold standard. Hold it against the patch and read the moisture percentage. For joint compound, a reading under 16-17% typically indicates it's ready for the next coat or priming. Some meters have specific settings for drywall; use them if available. Over 20% means it's definitely still wet inside. Note: 12% is a strict threshold often used for wood framing; drywall mud retains more moisture, so a slightly higher reading is acceptable once the surface is hard. This is the test I use for big drywall patches where I can't afford to guess wrong, like the butt joint repairs that span an entire wall.
When two of the three tests agree, you're ready to move on. When they disagree — surface feels dry but fingernail leaves a dent — trust the dent. That moisture is still inside and will come back to haunt you.
Dry to Touch vs. Cured Through: The surface of joint compound may feel dry to the touch in a few hours, but the interior can remain damp for days. "Dry to touch" is a surface condition; "cured through" is a structural condition. Painting requires the latter.


Discussion (0)
Sign in to join the discussion