

Painting a wall black hides application mistakes easily — but it punishes every shortcut you skipped during prep. My friend wanted an accent wall in her living room. She picked the color at 7pm, we started Saturday morning, and by Sunday afternoon we were staring at a wall that looked like it had been attacked by a roller.
The black went on uneven, dried patchy, and showed every dust speck and missed prime spot. We had to sand the whole wall down and start over — that's an entire extra weekend and $40 in primer we didn't plan on. Painting a wall black looks dramatic and simple on Pinterest. In a rental, it's the most high-stakes paint color you can pick.
Before you even look at a paint chip, check your lease. Black walls are the hardest color to cover at move-out — you'll need two or three coats of primer plus two coats of paint to hide it, and some landlords will charge you for the extra labor even if you do the repainting yourself. If your lease says "walls must be returned to original color," factor that cost in before you commit. If it says "no dark colors" — which some leases do — stop here. Iron Mountain is the most forgiving black to cover later, but even that takes more work than beige.
This guide covers the seven mistakes that ruin black paint jobs (most are easy to avoid once you know them), the prep step most renters skip, and the W-technique pro painters use to get a streak-free finish. If your wall has cracks before you start, check the wall cracks guide first — black paint turns every flaw into a billboard.
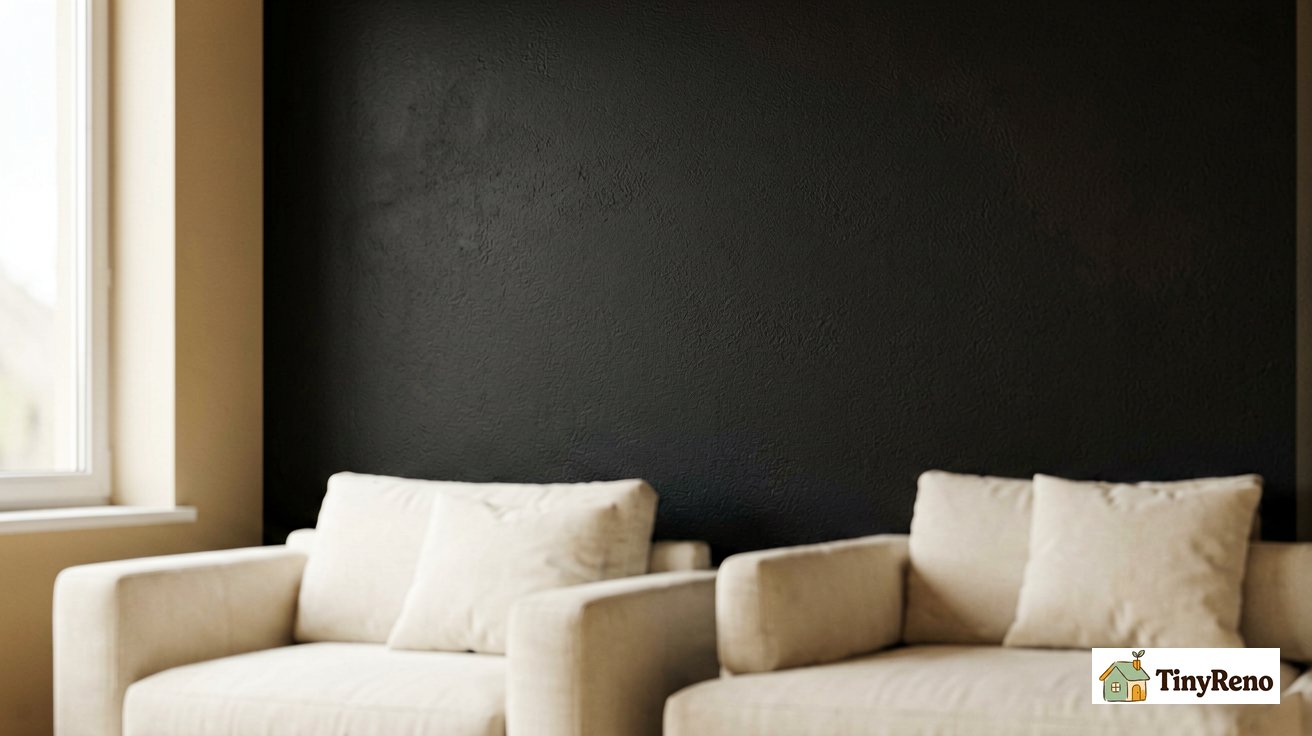
Why Black Paint Is the Most Forgiving Color (And Also the Worst)
Here's the paradox nobody tells you: black paint hides roller marks, brush strokes, and uneven application better than any other color. Once it's dry, you genuinely can't see a slightly thinner coat or a lap mark. But black paint shows every imperfection on the wall underneath — dust, missed primer, nail pops, sanding scratches, old patches. Where a white wall forgives prep sins, a black wall magnifies them.
The reverse rule most guides skip: light paint hides wall flaws, dark paint hides application flaws. Black sits at the intersection — it hides the application but amplifies the wall. If your wall is in great shape, black is the easiest color to roll on. If your wall has any history, black is the most expensive color to roll on.
My friend's wall had two patched nail holes and a hairline crack we'd ignored. The black paint didn't hide them — it framed them. From across the room they looked like deliberate shadow lines. Up close, they looked like damage. That's when we realized the wall wasn't ready for black. She hadn't skipped the painting. She'd skipped the prep.
The 7 Mistakes You Can't Undo
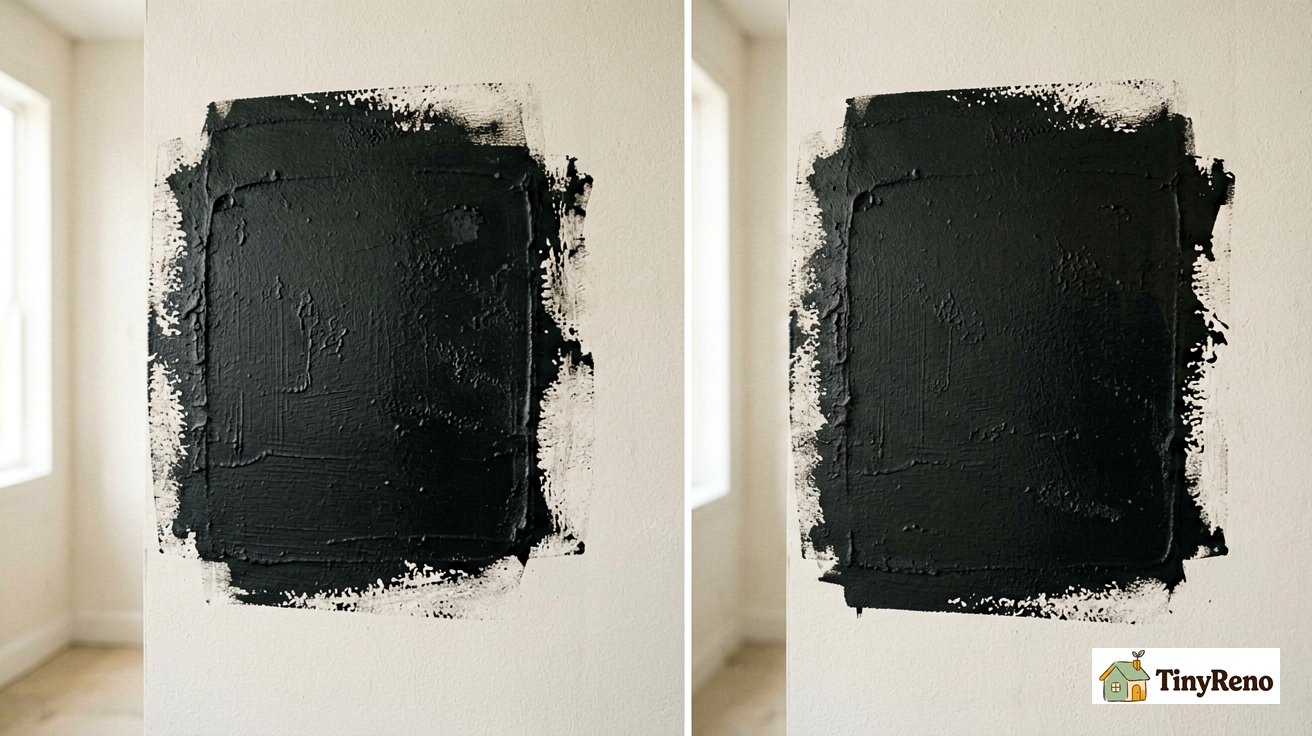
Most black paint disasters come from the same seven shortcuts. The table below pairs each mistake with the symptom it causes and the fix. Some of these you can repair without starting over. Others force a full sand-and-repaint.
| Mistake | What You'll See | How to Recover |
|---|---|---|
| Skipped primer on a light-colored wall | Patchy coverage, you can see the old color through it | 3-4 coats of paint instead of 2 (expensive) or sand and prime |
| Used a cheap roller | Visible roller texture, looks uneven | Sand smooth, re-roll with a quality 3/8" nap microfiber roller |
| Bought "one coat coverage" black paint | Marketing lie — black always needs 2 minimum, often 3 | Buy 2 gallons from the start; budget for the second coat |
| Left painter's tape on after the paint dried | Tape pulls off dry paint when removed, leaves jagged edge | Sand the edge, re-cut with angled brush, touch up |
| Cut in edges with a straight brush only | Visible bristle lines where the brush meets the roller area | Always overlap brush and roller while both are wet |
| Painted over unpatched nail holes or cracks | Every flaw turns into a dark shadow line | Sand the whole wall, patch, prime, repaint (we did this) |
| Painted when room temp was under 50°F | Paint dries uneven, drags when you re-roll, never fully cures | Wait for a 60-80°F day, ventilate the room, repaint |
The roller nap matters more than the paint brand. For most apartment walls — smooth drywall or very light texture — a 3/8-inch nap microfiber roller gives you a smooth coat without sucking up too much paint. If your wall has heavier texture, like old plaster or a patched popcorn area, go up to a 1/2-inch nap so the fibers reach into the grooves. For perfectly smooth, skim-coated walls, a 1/4-inch nap gives the flattest finish. When in doubt, test on a small patch before committing to the whole wall.
Looking at the table above, you'll notice a pattern. Every single mistake is either a prep shortcut (skipping primer, not patching holes, painting in cold weather) or a technique shortcut (cheap roller, cutting in wrong, leaving tape on too long). Black paint forgives the technique shortcuts — once it dries, those disappear. But it punishes the prep shortcuts. Those are the ones you can't undo without sanding the whole wall and starting over. My friend learned this the hard way. The roller marks we could have lived with. The unpatched holes and unprimed patches were the things that forced the redo.
One quick note on how much to buy. A gallon covers roughly 350 to 400 square feet per coat. An accent wall is usually around 100 square feet, so a quart per coat is enough. But always buy at least 20 percent extra. Black paint has a way of disappearing faster than you expect — you'll use more on the second coat, more on touch-ups, and more on the edges than you planned. Running out of black at 9pm on a Sunday is a special kind of misery, because the store is closed and the wall is half-finished.
Before you open the can, inspect the wall for mold or moisture stains first — black paint traps moisture against the wall and turns a small mold patch into a serious problem. A 30-second visual check saves a $500 remediation bill.
The Prep Step That Actually Matters Most
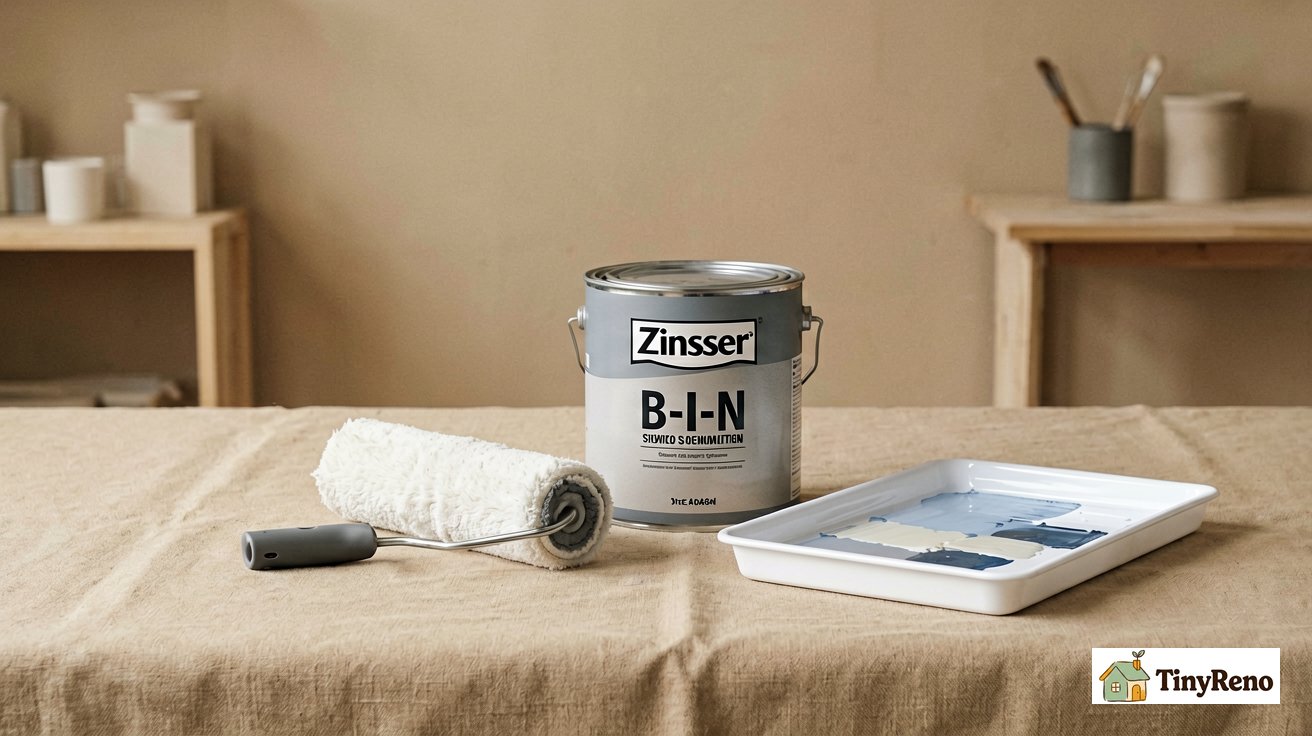
If you remember one thing from this entire guide, remember this: primer is not optional for painting a wall black. The color shift from light to dark is the biggest pigment jump you can make in one coat of paint, and your black paint will never achieve full coverage over a beige or white wall without a primer underneath.
For black paint specifically, ask the paint desk to tint your primer gray — any paint store can do this for free. A gray primer gets you to full black coverage in two coats. A white primer means three or four coats, because the white keeps showing through until the black finally buries it. I didn't know this my first time, and we used an entire extra quart of $30 paint trying to cover a white primer that kept grinning through. If you're already at the store, a gray-tinted Kilz Premium or Zinsser primer is the right call. If you can't get gray, at least ask for a deep-base primer, not a white one.
One coat, rolled on with the same 3/8" nap microfiber roller you'll use for the topcoat. Let it cure fully before your first black coat — the drywall mud dry time on patches affects the primer dry time too, and painting over uncured primer traps moisture that has to escape somewhere.
Here's the time math under ideal conditions (70°F, 50% humidity): primer dry to touch in 30 minutes, recoat in 4 hours, but full cure can take 24-48 hours depending on ventilation. In cool or humid weather, extend these times. Paint dry to touch in 1 hour, recoat in 4 hours, full cure in 7 days. Crucially, ensure the primer is fully cured before applying black paint. If the primer isn't fully cured, the solvents in your topcoat can reactivate the shellac, leading to uneven sheen or adhesion issues. Plan for a full 24-hour cure window before you open the black paint can. If you prime Saturday morning, you can paint Sunday morning. If you paint Sunday morning, the wall won't fully cure until the following Sunday. Plan around that if you're moving furniture back.
The "W" Technique (Yes, You Literally Paint a W)
Here's why W-rolling matters more for painting a wall black than for any other color. Black paint is dense with pigment, which means it dries to the touch faster than lighter colors. A faster drying time leaves less room to correct lap marks before they set. W-rolling minimizes lap marks from the start by overlapping wet edges consistently. With white paint, you have a few extra minutes to fix a seam. With black, you don't. That's why the W is non-negotiable for this color.
- Load the roller. Dip it into the tray, roll it out once on the textured ramp, then roll it on the wall. Don't overload — a saturated roller drips and creates the patchy spots you're trying to avoid.
- Paint a 3-foot W. Starting about a foot from the ceiling, roll a W shape that's roughly 3 feet wide and 2 feet tall. Don't try to make it pretty — it just needs to lay down a thick, even band of paint.
- Fill in the W. Without reloading the roller, go back over the W with up-and-down strokes. The wet edges of the W blend into the fills, leaving no lap marks.
- Move to the next section. Each new W should overlap the previous one by about 6 inches while it's still wet. This is the timing trick: rolling into a still-wet edge eliminates seams.
Corner tip: when your "W" reaches a corner, use a quality angled sash brush to "feather" the paint from the roller into the corner. This creates an invisible transition and prevents the buildup of thick paint edges that are prone to chipping.
I tried up-and-down rolling on my first wall. The result had visible "tracks" that showed every stroke. The second wall, I used the W. The difference was night and day — same paint, same roller, different technique. Wet-sanding any drips is the easiest fix, but protect surrounding surfaces meticulously. Black pigment is intense — damp dust will stain light-colored walls or carpet permanently. Work gently to avoid sanding through the thin black topcoat and exposing the primer underneath.
My Friend's "Black Wall vs. Navy Wall" Pick
Three months after the redo, my friend still loves the wall but admits she almost picked the wrong black. "Black" paint is a category, not a single color. Three options show up in most paint decks, and they read very differently once they're on a real wall.
My friend ended up going with Iron Mountain after testing three sample pots on her wall. Black Beauty was too stark for her north-facing living room — it looked like a void, not a color. Hale Navy read blue at breakfast and black at dinner. Iron Mountain was the one that looked intentional, like the wall had always wanted to be that color.
If you're painting a wall black for the first time and you might change your mind in a year, go with Iron Mountain. It's the most forgiving on touch-ups and the easiest to paint over when you move out. If you're committed to the look, Black Beauty is the real-deal dramatic black. Hale Navy is the in-between that photographs beautifully but reads warmer than you'd expect. Always buy a sample pot and paint a 12x12 square on the wall first — black reads 50% darker once it's dry than it does on the chip card.
Lighting matters: black paint is a light sponge. In a room with a single north-facing window, it can read as a flat, lifeless void. To make a black accent wall feel intentional rather than gloomy, pair it with adjustable, warm-toned accent lighting — like a picture light or directional spotlights. Test your chosen black paint under both daylight and your room's typical evening lighting before committing to the whole wall.
Three months after the redo, my friend still loves her wall. But she said something to me last week that stuck: "The painting took four hours. The prep took six." That's the whole lesson of painting a wall black, really. The color is easy. The wall underneath is the work. And if she ever moves out, she knows she's looking at two coats of primer and two coats of paint to cover it. That's the rental tax on black walls, and it's worth knowing before you open the first can. The repair order matters too: do your wall patches and ceiling first, then come back for the black accent wall last. And if you want your deposit back in full, the 9 spots that cost deposit fees are worth reading before move-out — most deductions come from places renters never look.


Discussion (0)
Sign in to join the discussion