

How to get rid of scratches on wood floor depends on one thing: how deep the scratch actually is. My friend slid her couch three inches to vacuum under it, and when she pulled it back, there was a six-inch scratch across the living room floor — white, bright, impossible to ignore. "I just lost half my deposit," she said. She was wrong, but only because she figured out how to get rid of scratches on wood floor before move-out. The fix took an hour and a $12 kit from the hardware store. Her landlord never noticed. This guide is the same playbook, broken out by how deep the scratch actually is — because most articles start with the wrong advice for the wrong scratch.
The trick with how to get rid of scratches on wood floor is that "scratch" covers everything from a faint surface mark to a deep gouge where the wood fibers are visibly raised. The wrong method on the wrong scratch is how renters end up with cloudy finishes, color mismatch, or patches that look worse than the original damage. If the floor is buckling or lifting instead of scratched, our hardwood floor buckled guide covers the structural side. For water staining that looks like a scratch but isn't, our water damage guide is the right place to start.
5 Levels of Wood Floor Scratches (From Cosmetic to Serious)
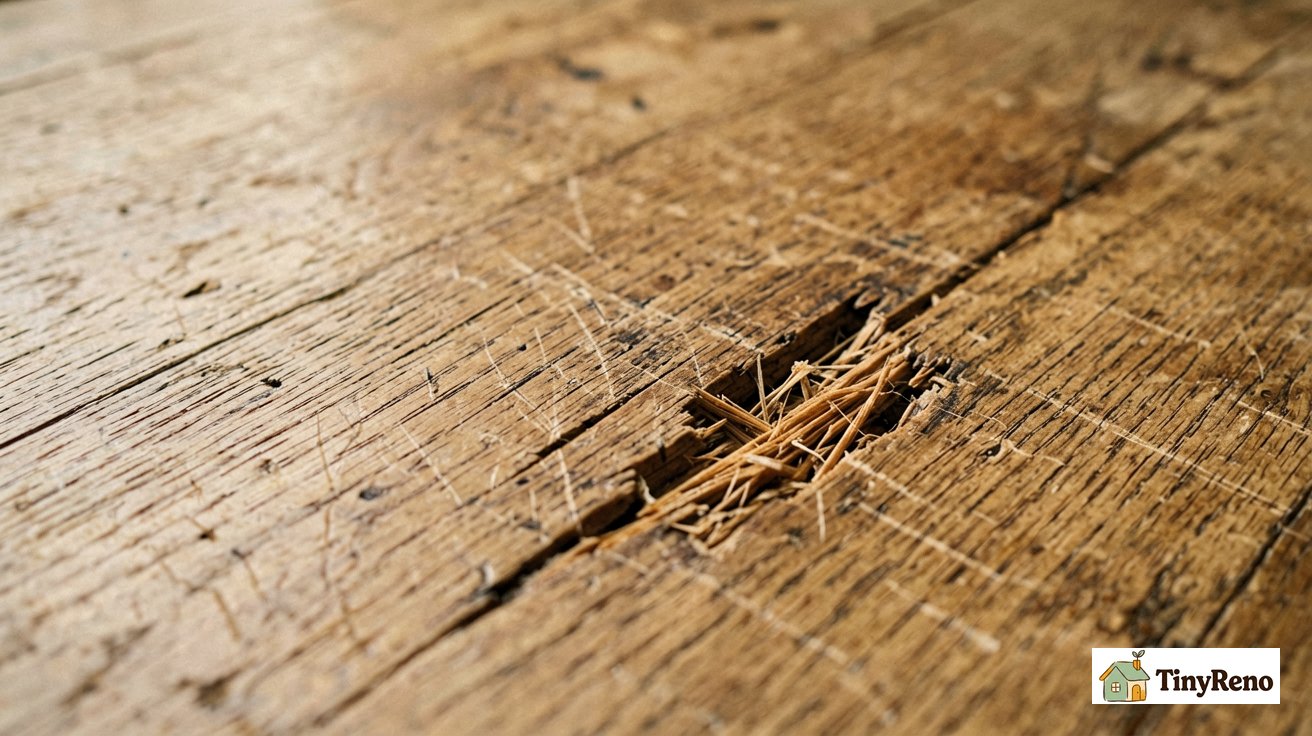
Not all scratches are the same. The first thing you need to do before any fix is figure out which level you're dealing with. Run your fingernail across the scratch. If your nail catches, the scratch is deeper than the finish — that's level 3 or worse. If your nail glides over without snagging, you can probably fix it without tools. Here's the full breakdown.
| Level | What it looks like | What your fingernail does | Renter can fix? | Time and cost |
|---|---|---|---|---|
| Level 1: Surface scuff | Gray or black mark, no wood color visible underneath | Glides over without snagging | Yes — 5 minutes | $0 (just a sock or tennis ball) |
| Level 2: Light scratch | Thin line, slightly lighter than surrounding wood, finish intact | Glides over, may feel a slight bump | Yes — 15 minutes | $5 (walnut or marker) |
| Level 3: Medium scratch | Visible wood color, finish scuffed but most fibers intact | Catches slightly | Yes — 1 hour | $15 (blend stick + soft cloth) |
| Level 4: Deep gouge | Wood fibers visibly raised or missing, raw wood color exposed | Catches firmly, may chip | Maybe — needs wood filler | $25 (filler + sandpaper + stain) |
| Level 5: Structural damage | Plank lifted, board cracked, water damage underneath | Not applicable — call landlord | No — landlord or pro | $200+ (board replacement) |
The reason this level matters: most online guides default to "use a walnut" or "use a marker" regardless of the scratch. Those tricks work on levels 1 and 2 only. On a level 4 gouge, they'll make the damage more obvious by sealing over raw wood with a color that doesn't match. Match the level to the method. That's the whole framework.
What a Renter Can Fix in Under 10 Minutes (No Tools Needed)
If your scratch is level 1 or 2, you can fix it without buying anything. Two methods work on 90 percent of cosmetic scratches, and both use things you probably already have at home.
Prep first: before any repair, clean the scratch thoroughly with a mild wood floor cleaner and a soft cloth. Remove all dirt, wax buildup, and debris. Repair materials won't adhere properly to a dirty or waxy surface.
Method 1: The walnut trick. Find a raw walnut (the kind you eat, in the shell). Crack it open. Rub the meat of the nut firmly along the scratch, going with the grain. The natural oil in walnut fills the scratch and darkens the surrounding wood to match. Wait 5 minutes, then buff with a soft cloth. The scratch will be 70 to 90 percent less visible. This works on level 1 and most level 2 scratches on medium-to-dark wood floors. It does not work on maple, birch, or very light floors — the walnut oil darkens but the wood doesn't accept the stain evenly.
Method 2: The matching marker. Home improvement stores sell wood touch-up markers in dozens of colors. Bring a photo of your floor in good lighting to match the color. Draw along the scratch with the marker, going with the grain in one continuous motion. Wait 30 seconds, wipe excess with a clean cloth. The marker fills the scratch and matches the existing finish. This works on levels 1 and 2 across all wood types, and the fix lasts a year or two before it needs redoing. For added durability, after the marker dries, apply a tiny dab of clear polyurethane finish (using a toothpick) over the repair. This seals the color and protects it from foot traffic. Let it cure fully before walking on it.
Both methods have the same limitation: they're cosmetic. They don't restore the finish or the wood fiber. If your scratch is deep enough that you can feel a ridge with your fingertip, these won't make it disappear. Move to the next section.
The 3-Step Method for Deeper Scratches ($15 Tools)
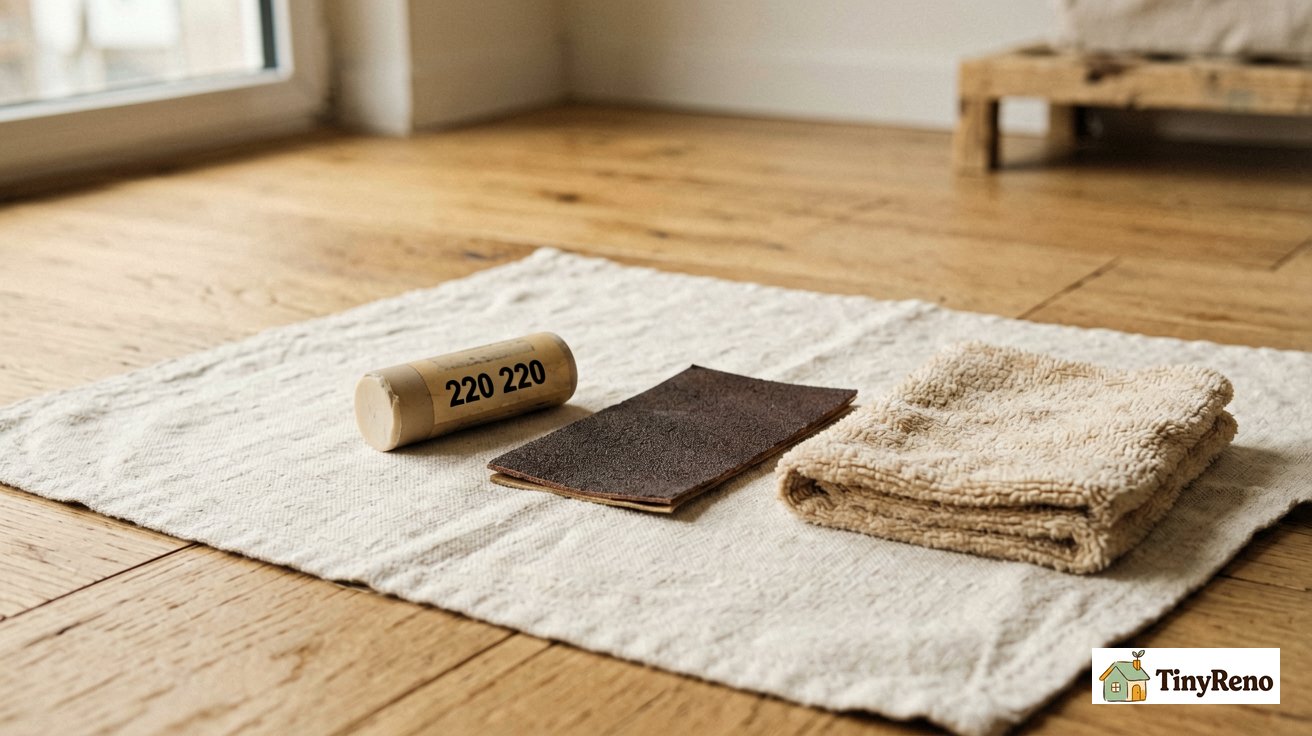
For level 3 and most level 4 scratches, you need three things from the hardware store: a wax blend stick (also called a fill stick), 220-grit sandpaper, and a soft cloth. Total cost is about $15. The whole repair takes an hour, including dry time. Here's the order.
Critical: always apply, sand, and buff in the direction of the wood grain only. Working across the grain creates new, highly visible scratches that are harder to fix than the original damage.
Step 1: Clean the scratch. Wipe the area with a damp cloth and let it dry completely. Any dust or debris in the scratch will get sealed in by the filler and make the patch look bumpy.
Step 2: Apply the blend stick. Heat the stick slightly with a hair dryer for 10 seconds to soften it. Press the softened wax firmly into the scratch, slightly overfilling it. The wax should sit just above the surrounding wood surface — you'll sand it flush in a minute. Apply in the direction of the wood grain, not across it.
Step 3: Sand and buff. Wait about 10 minutes for the wax to harden, or test by gently touching the edge of the filled area — it should feel firm and cool, not tacky or soft. Use the 220-grit sandpaper in one direction along the grain to sand the wax flush with the floor surface. Don't sand across the grain — you'll scratch the surrounding finish. Wipe with the soft cloth. The patch should be level with the floor and the color should be close to the surrounding wood.
Two things that go wrong with this method. The first is using the wrong color blend stick — if the stick is too dark, the patch will look like a different color than the rest of the floor. Most hardware stores let you bring a sample or photo for color matching. The second is over-sanding — if you sand past the wax and into the wood underneath, you'll widen the visible damage. Sand lightly and check your progress every few strokes.
If the scratch is wider than 1/8 inch or runs across the grain, the blend stick alone won't hold. For those, you need wood filler (a paste, not a wax stick), then stain to match the color. This is an advanced repair. A mismatched color or uneven fill will be more noticeable than the original scratch. For Level 4 damage, strongly consider notifying your landlord and getting a quote — the cost of a professional repair might be less than the deposit deduction for a failed DIY attempt. That's a $25 repair and takes 4 hours including dry time, but the risk of getting the color or depth wrong is what makes most renters regret trying it themselves.
The 2 Methods to Skip (They Cost Deposits)
Two methods show up in search results that look renter-friendly but actually make things worse. Skip both.
Skip 1: Steel wool. You'll see advice to use fine steel wool with mineral oil to "buff out" scratches. The steel wool removes a thin layer of the existing finish along with the scratch, which makes the scratch less visible — but it also makes the surrounding floor slightly duller. The result is a dull patch surrounded by the original finish. The contrast is obvious, especially in direct light. Most landlords will notice. Don't do it. If you need to gently abrade the edges of a deep scratch (Level 4) before filling, use 0000-grade synthetic finishing pads or very fine (600-grit+) wet/dry sandpaper instead. These are less aggressive and won't dull the surrounding finish like steel wool can.
Skip 2: Wax crayon from a kid's art set. Crayons are waxy and they fill scratches — same logic as the blend stick. The problem is crayons are not designed for floor finishes. They don't bond to the wood the way a purpose-made blend stick does. They peel off within weeks, leaving a worse mess than the original scratch. Plus the colors don't match real wood. Spend the $10 on a real blend stick instead.
The general principle: any fix that involves modifying the existing finish around the scratch (steel wool, sanding sealers, "magic eraser" type products) is going to look obvious up close. Stick with methods that fill the scratch with new material rather than removing material around it.
How to Document Scratches at Move-In (So Move-Out Doesn't Penalize You)
The single best time to deal with floor scratches is before you move in. Most renters skip the move-in walkthrough inspection or do it in five minutes without noting anything. That's how my friend ended up with the couch scratch — and how the landlord tried to charge her for a scratch that was already there.
Move-in day, do this. Walk every room slowly. Photograph every scratch, scuff, dent, and discoloration you can find. Use the flash on your phone so the camera picks up subtle marks. Save the photos to a cloud folder named with the date and your address. Take a 30-second video panning slowly across each floor surface while narrating the date. Email the photos and videos to yourself so the timestamp is in the email metadata, not just the file metadata.
When you fix a scratch mid-tenancy. Photograph the scratch before the fix, mid-fix, and after. Save receipts for any materials. Email yourself the documentation chain so it's preserved outside the photos app. If your landlord disputes the deposit at move-out, you have dated proof of what was there, what you fixed, and how you fixed it.
The deposit deduction fights that get ugly are almost always about scratches the landlord claims you caused. The deposit deduction fights that resolve in the renter's favor are almost always the ones where the renter has dated photos from move-in. A five-minute walkthrough on day one is the difference between losing $400 and keeping it. If you've already moved in and didn't document, our 9 overlooked spots that cost deposit fees covers what you can still do. For deeper damage like carpet stains from the same source, our carpet damage guide covers the floor side.
Most scratches on a wood floor are level 1 or 2 — surface scuffs from furniture, pet claws, or dropped objects. If you're trying to figure out how to get rid of scratches on wood floor before move-out, this is the level you're almost certainly dealing with. The walnut or marker fix takes 10 minutes and $5. Deeper scratches need the blend stick and an hour. Beyond that, the repair cost approaches the deposit savings, and the call becomes whether to fix or to negotiate with the landlord directly. Knowing which level you're dealing with is what separates a $5 fix from a $300 deduction at move-out.


Discussion (0)
Sign in to join the discussion