

Last October, I tried to prepare apartment winter in a single weekend. I bought a window kit, shoved a towel under the door, and turned the heat on. By December, my electric bill was $187 more than the year before, and a dark ring had bloomed behind the couch where the wall met the floor. The towel had wicked condensation into the carpet pad for six weeks before I noticed.
That was the year I learned you can't prepare apartment winter in a weekend. The window kit went on too late. The towel under the door made the condensation worse, not better. And the heat ran constantly because the draft I didn't seal was bigger than I thought.
This year, I started August 1 to prepare apartment winter properly. The calendar below is what I actually did, in the order I did it, with the September deadline most renters miss and the three tasks that genuinely don't matter. If you're already behind, the last section tells you exactly what to skip and what you absolutely cannot skip.
Why I Moved My Prep Calendar Up This Year
The first cold morning in my zip code is now October 12 on average, but the temperature starts dropping from the upper 60s into the 50s by mid-September. That's the window where the damage actually starts. By the time you feel cold in your apartment, the condensation has been pooling on the inside of the windows for three weeks, the heating system has been working harder than it should, and the caulk around the tub has already started pulling away from the tile.
When I asked my HVAC tech neighbor why his fall calendar starts in August, he said: "August is when the units come down from peak cooling load. That's when I can actually get on a service call for under $90. In October, I'm emergency-only and the minimum is $180."
The other reason: most of the winter prep work happens outside the apartment. Hardware stores stock window kits, door sweeps, and caulk in August. By November, the shelves are picked over and the prices have jumped. Last year the same window kit I bought in August for $11 was $24 in October at the same store.
August: The First Three Things to Handle
The first three August tasks all share one trait: they take longer than you think and the professionals are slow to book in August.
Task 1: Book the radiator or HVAC service. If you have radiator heat, the building's annual bleed usually happens in September. Get on the schedule now. If you have a mini-split or window AC that also heats, schedule a service call before the cooling season ends. My tech neighbor's August rate was $85; his October minimum is $180.
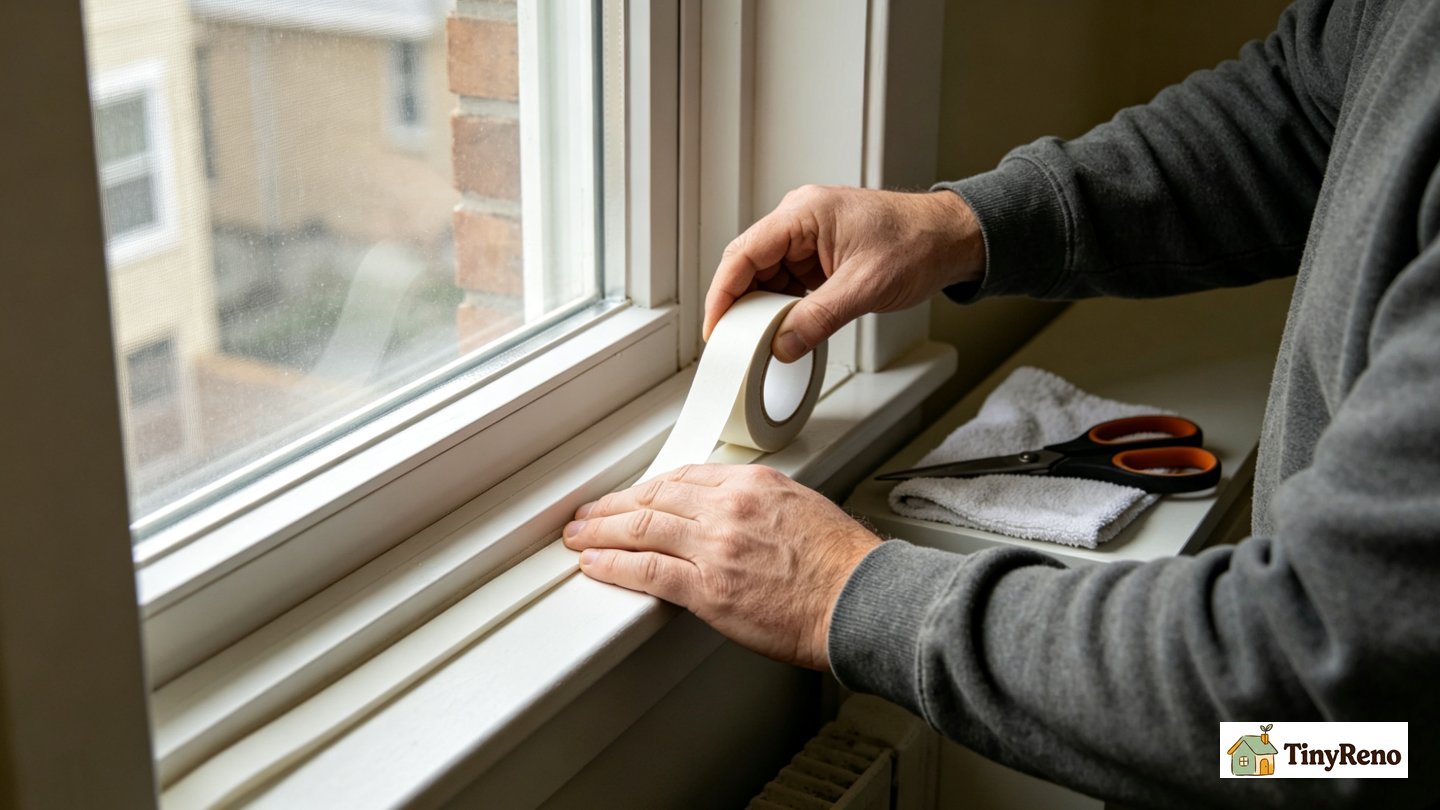
Task 2: Inspect every window for failed caulk and weatherstripping. Run your hand along the edge of every window on a windy day. If you feel air, the weatherstripping has failed or the caulk has cracked. Take photos of every gap. You'll use these in November when you decide whether to ask the landlord for repairs or do them yourself.
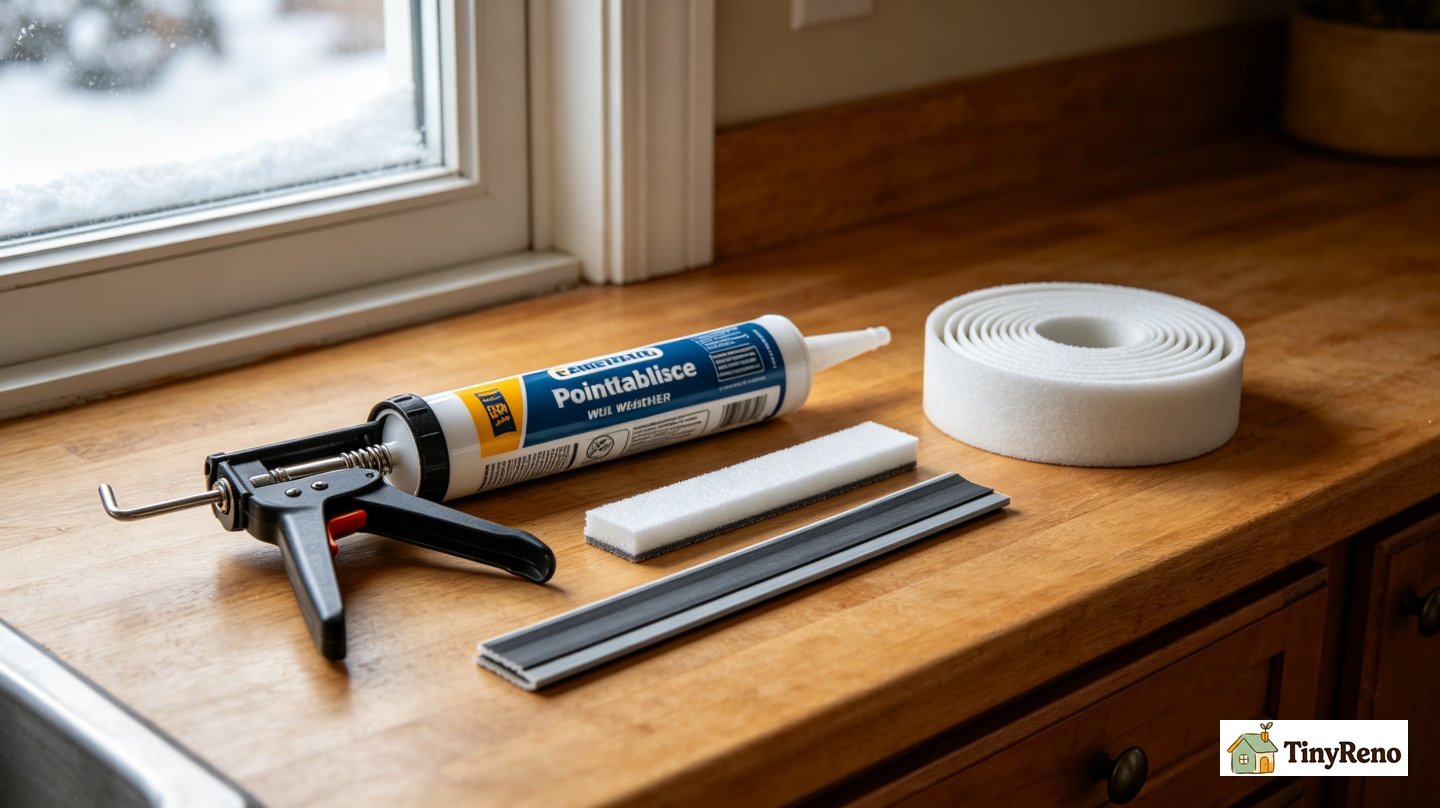
Task 3: Order supplies while they're cheap and in stock. Window insulation kits, door sweeps, foam outlet gaskets, and a basic caulk gun with a tube of paintable silicone. Total cost for a one-bedroom: $35 to $60. Order now, store them, and don't open them until September.
The reason these three go in August: tasks 1 and 2 require external help or coordination. Task 3 takes advantage of supply and price. None of them involve touching the actual heat yet.
September: The Last Window for Some Tasks
September is the last clean month before the heat comes on. If you do nothing else this month, do these four tasks to prepare apartment winter before the deadline closes.
Task 4: Apply weatherstripping to every drafty window and door. This is the single biggest energy savings task in any apartment. A $6 roll of adhesive foam tape around a drafty window can drop your heating bill by 8 to 12 percent. Press the tape firmly into a clean, dry surface. Wait 24 hours before closing the window.
Task 5: Install the door sweep on your front door. If light is visible under your front door, cold air is coming in too. A self-adhesive brush sweep costs $8 and takes ten minutes. Measure the door first; sweeps come in 32, 34, and 36 inch widths.
Task 6: Reverse the ceiling fan direction. Most ceiling fans have a switch on the motor housing. In summer, the blades spin counterclockwise to push air down. In winter, flip the switch so the blades spin clockwise at low speed. This pulls cool air up and pushes warm air down along the walls. Free heat redistribution, no electricity cost change.
Task 7: Caulk the gaps around pipes and vents where they meet exterior walls. These gaps are small but they add up. A $6 tube of paintable silicone caulk and a caulk gun is all you need. Cut the tip at a 45-degree angle, apply in a continuous bead, smooth with a wet finger, wipe excess with a damp rag.
The September deadline is real. By mid-October, the outdoor temperature drops, and exterior walls get cold. If indoor humidity is still high, condensation shifts from the windows to inside the walls. Once that happens, caulk doesn't cure properly and weatherstripping adhesive fails. Get it on while the air still has moisture.
October: What's Still Possible (and What Isn't)
By October, the heating season has usually started. Your job shifts from preparation to damage control.
Task 8: Install the window insulation kits on the worst-performing windows only. The plastic film kits work but they block the view and trap moisture if you skip the drying step. I do the two worst windows and leave the rest alone. If your windows are already tight, skip this entirely.
Task 9: Lower the thermostat 2 degrees and add a layer instead. Every degree below 68 costs roughly 6 percent more in heating. Going from 70 to 68 saves about 12 percent. Add a blanket and slippers before you turn the dial up.
Task 10: Move furniture 2 inches off every exterior wall. Cold exterior walls transfer temperature inward. Furniture pressed against them blocks heat circulation and creates cold spots where condensation forms. Two inches of air gap is enough.
Task 11: Check the bathroom and kitchen exhaust fans. Run them during and for 20 minutes after every shower or boil. In winter, the moisture from cooking and showering is the main source of the condensation that causes the dark ring I got last year. If your fans vent inside the apartment (some older buildings do), running them will add moisture to the air. Only run them if you can also crack a window to let the moisture escape; otherwise, they won't help and may make condensation worse.
What's not possible in October: any task that requires professional help. Plumbers, HVAC techs, and handymen are slammed. If you missed the radiator bleed in August, you're paying emergency rates now.
November: Emergency-Only Mode
November is when the first hard freeze hits in most US rental markets. The window for any meaningful prep is closed. Focus shifts entirely to the four tasks that prevent the worst damage.
Task 12: Open cabinet doors under sinks on exterior walls on nights below 25°F. Pipes on exterior walls can freeze when the cabinet stays closed and the heat from the room never reaches them. Open the doors, let the room air in. Cheap, fast, prevents a $3,000 pipe burst.
Task 13: Let the heat run, even when you're away. Set the thermostat no lower than 55°F if you travel. A frozen pipe doesn't care if you're paying for an empty apartment's heat or a flooded apartment's plumber.
Task 14: Check every smoke and CO detector. Winter is when heating system failures cause carbon monoxide problems. Press the test button on each detector. Replace batteries. If a detector is more than 7 years old, ask your landlord to replace it. If the building has a detector older than 10 years, that's a code violation in most states.
Task 15: Photograph the apartment's condition before any winter damage starts. If a pipe bursts in February and the carpet is ruined, the landlord will want to know what the apartment looked like in November. Date-stamped photos of every room, every wall, every carpet edge, are how disputes get resolved in your favor. This connects directly to the move-out inspection rights you'll exercise in eight months.
The November task list is short on purpose. Everything else either already happened in August and September, or it doesn't matter enough to fight for.
If You Missed the Whole Window (Recover Here)
If you're reading this in November and you haven't done any of the above, you still have three moves that pay off.
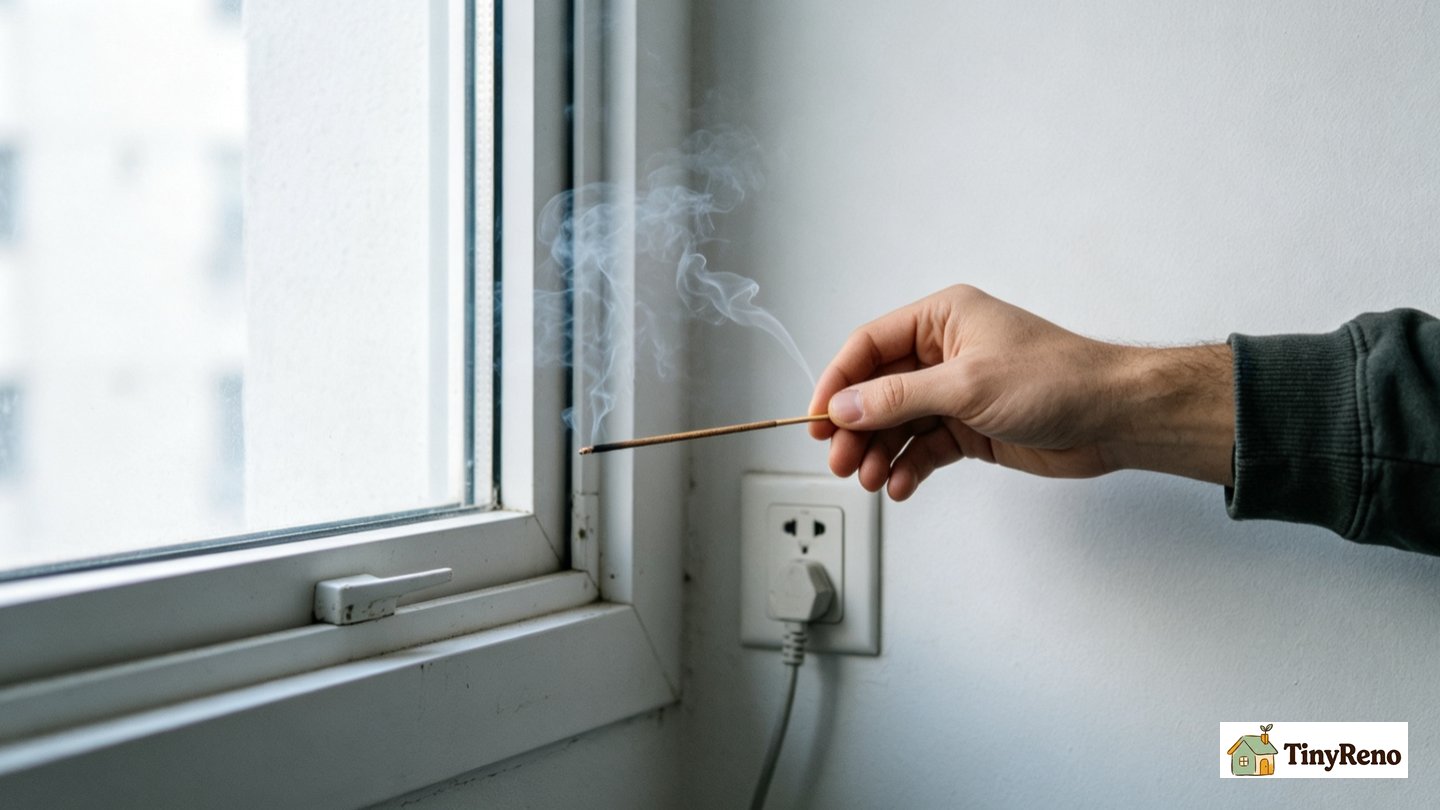
Move 1: The 10-minute draft sweep. Walk through the apartment with a lit incense stick. Wherever the smoke drifts sideways or gets sucked toward a window or door, you've found a draft. Go to the obvious draft and seal it with painter's tape and a rolled-up towel as a temporary measure until you can do the proper fix.
Move 2: Reverse the ceiling fan and add a door sweep. These two moves together cost under $10 and take 15 minutes. They're the highest-impact moves per dollar and per minute of any winter prep work. If you do nothing else, do these two.
Move 3: Document the apartment now, before the freeze. The reason for documenting in November rather than waiting until move-out: damage from a winter freeze is the landlord's responsibility in most states, but only if you can prove the apartment was fine in November. Photos dated November 15 are your evidence.
What to skip if you're already behind: insulation kits on every window, professional duct cleaning, smart thermostat upgrades, and any task that costs more than $50. The high-impact moves are all under $15 and most are under $5.
The Short Version (If You're Skim-Reading)
When should you start? August 1 in most US climates. Book HVAC, inspect windows, order supplies.
What is the highest-impact single task? Weatherstripping plus a door sweep. Together they cost under $15 and cut heating bills 10 to 15 percent.
Are landlords required to winterize apartments? In most states, landlords must maintain the heating system and the building envelope, but they don't have to install insulation for you. Report failed weatherstripping and broken windows in writing.
Can renters use caulk and weatherstripping without losing their deposit? Yes for paintable caulk and removable foam tape. Avoid expanding foam and any modification that requires drilling into exterior walls.
How do I document apartment condition for winter? Date-stamped photos of every room, every exterior wall, every window, every carpet edge. Email a copy to yourself so the timestamp is server-side.
For the full reasoning behind each of these answers, the calendar above is the answer key. The five tasks in November are non-negotiable; everything else can move forward or back by a week without breaking the system.


Discussion (0)
Sign in to join the discussion