

I move out of an apartment every 2 to 3 years. I have done this 5 times in 15 years as a renter. Three of those move-outs went well — full deposit returned, no dispute, no stress. Two went badly — partial deposit lost to deductions I could have prevented, plus one avoidable last-minute scramble.
The pattern I noticed: the move-outs that went well started 30 days before the actual moving day. The move-outs that went badly started the day before. The difference is not effort. The difference is having a calendar that catches the 14-day notice requirement, the 7-day pre-move-out repair list, the 24-hour utility cutoff, the day-of walk-through, and the 30-day post-move-out deposit check.
This article is the 4-week renter calendar plus the day-of checklist that catches what most renters miss when they move out apartment. The calendar is sequential. Skipping weeks or compressing the timeline costs money. Follow the calendar as written and you will be in the 3-out-of-5 group that gets the full deposit back.
The Next 30 Days: The Master Timeline
The 4-week renter calendar starts 30 days before the move-out date and runs through 30 days after. The work is in three buckets: notice, prep, and follow-through.
Notice is what you give the landlord. In most states, the legal notice period is 30 to 60 days. Some leases specify 60 days. Missing the notice deadline can mean owing an extra month's rent. Notice must be in writing.
Prep is what you do to the apartment. Cleaning, repairs, documentation, utility transfers, mail forwarding, packing. This is the work that prevents deposit deductions and move-out disputes. Prep starts 4 weeks before move-out and peaks in the last 7 days.
Follow-through is what you do after the keys are returned. Documenting the move-out condition, following up on the deposit, disputing any deductions, escalating if necessary. Follow-through runs through 30 days post-move-out.
The three buckets overlap. Notice and prep start in the same week. Prep continues into the move-out week. Follow-through starts the day you leave. Most of the move-out stress comes from trying to do all three buckets in the last week. The calendar eliminates that.
The Next 30 Minutes: Read Your Lease
Before anything else, open your lease and find these clauses: notice period, move-out procedure, cleaning requirement, repair responsibility, inspection timing, and key return. Read each clause carefully. The clauses vary by lease, and the specifics determine what your prep work needs to cover.
The notice period clause specifies how many days written notice you must give the landlord before the move-out date. Most leases require 30 days; some require 60. The notice is almost always required to be in writing, and many leases specify the delivery method (email, certified mail, hand delivery).
The move-out procedure clause specifies what the landlord expects on move-out day. Common requirements include professional carpet cleaning with receipt, professional housekeeping with receipt, all utilities transferred out of your name, all keys and access devices returned, and a walk-through with the landlord or property manager.
The cleaning requirement clause specifies the cleaning standard. Most leases require "professional" or "thorough" cleaning, with the receipt required as proof. Some leases require specific cleaning of the oven, refrigerator, and bathrooms. Skipping the cleaning is one of the top three reasons landlords deduct from deposits.
The repair responsibility clause specifies which repairs are tenant responsibility at move-out. Most leases mirror the habitability statute but add cosmetic requirements (patching nail holes, touching up paint in marked areas). Remember: normal wear and tear—faded paint, minor carpet wear, small nail holes—is not deductible. Damage beyond that is.
The inspection timing clause specifies when the landlord will inspect the unit. Most leases give the landlord the right to inspect within 24 to 72 hours of move-out. Some leases require a joint walk-through with the tenant present. If your lease specifies a joint walk-through, request one in writing. The joint walk-through lets you photograph any damage at the same moment the landlord does, which prevents later disputes.
The key return clause specifies how and when to return keys. Most leases require all keys, fobs, mailbox keys, and access devices returned at move-out. Some leases require keys returned to a specific location or person. Lost keys typically result in a $50 to $200 deduction per lock.
Reading these clauses in week 4 (30 days out) gives you the framework for the next 4 weeks of work.
The Next 24 Hours: Send the Move-Out Notice
The day you read the lease, send the move-out notice. The notice is a one-page written document. Email and certified mail is the safest delivery method. Email arrives fast and starts the clock. Certified mail creates a legal record of delivery.
The notice format:
Subject: Notice of intent to vacate, [unit number], effective [date]
Dear [landlord name],
This letter is my formal notice of intent to vacate the apartment at [address], unit [number], effective [move-out date].
My current lease expires on [date] / I am exercising the early termination clause per Section [X] of my lease. I will return all keys, fobs, and access devices by [time] on [move-out date].
I request a joint move-out inspection at a mutually convenient time on or before [move-out date]. I will be available [list times].
Please send me written confirmation of receipt of this notice and the scheduled inspection time.
Sincerely,
[Your name]
[Forwarding address]
[Phone number]
This notice does three things:
1. Starts the legal clock for your deposit return. Most state statutes give the landlord 14 to 30 days after move-out to return the deposit. The clock starts when you vacate, not when you send the notice.
2. Requests the joint inspection in writing. In most states, the landlord is required to offer the inspection if you request it. The written request creates the record.
3. Provides your forwarding address. The landlord is required to send the deposit return to your last known address. The notice establishes that address as the forwarding address. If you move again before the deposit arrives, the forwarding address on file is where the check goes.
The Next 14 Days: Walk the Apartment and Build the Repair List
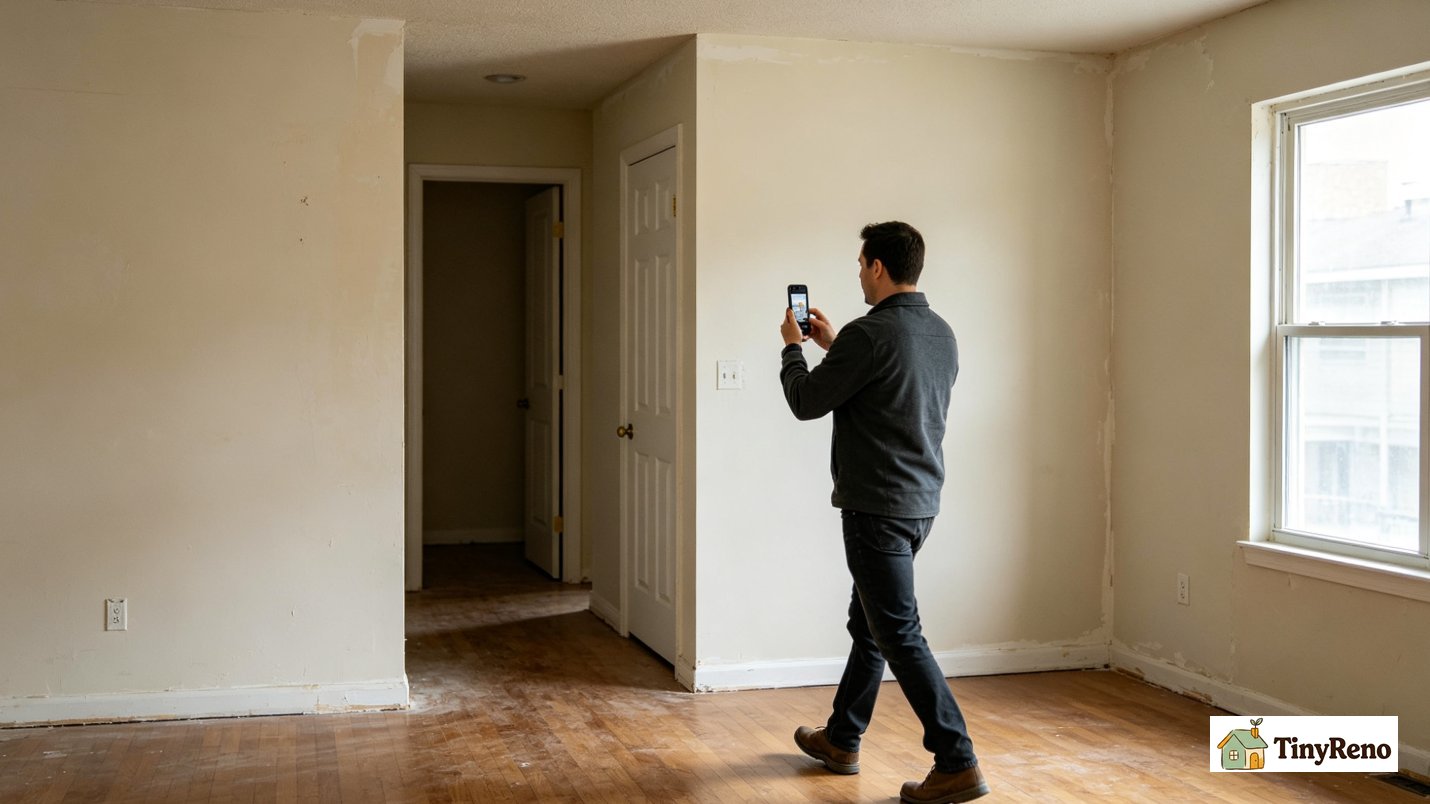
Two weeks before move-out, walk through every room with a notebook and your phone camera. Photograph every wall, floor, ceiling, window, door, and appliance. Photograph any damage you see, including damage that was on the move-in condition report and damage that has appeared since.
The walk-through has three purposes:
1. Identify what needs to be repaired. Nail holes larger than picture-hanging size. Scratches on walls or floors. Stains on carpet. Loose handles or hinges. Cracked tiles. Make a written list of every repair you can complete yourself in the next 14 days.
2. Identify what needs to be cleaned. Oven interior and exterior. Refrigerator coils (if accessible). Range hood filter. Bathroom tile grout. Window sills. Baseboards. Light fixtures. Make a written list of every cleaning task.
3. Document pre-existing damage that should not be charged to you. Anything that was on the move-in condition report and has not changed should be photographed at the same angle and same lighting as the original. The "before" and "after" photos prove the damage was pre-existing.
Send the repair list to the landlord by email after the walk-through. The email serves as your notice of repairs the tenant plans to make (to avoid disputes over what the tenant is doing to the unit) and as your pre-move-out documentation.
For repairs the landlord should have made but did not (the slow-drip leak, the drafty window, the broken garbage disposal), send the repair request now. The 14-day window gives the landlord time to fix the items before move-out day. If the landlord does not fix them by move-out day, you have the documentation to dispute the deduction at move-out.

The Next 7 Days: Schedule Cleaning and Repairs
One week before move-out, book the cleaning and the self-repairs.
Cleaning booking: Hire a professional cleaning service or do the cleaning yourself. The receipt for professional cleaning is required by most leases and is one of the most common deductions when missing. The cleaning takes 3 to 5 hours for a one-bedroom and 5 to 8 hours for a two-bedroom. Book the cleaning for the day before move-out so the apartment is fresh when the landlord inspects.
Self-repair list: Patch the nail holes with spackle. Touch up paint in marked areas. Replace any burned-out light bulbs. Re-caulk the tub or shower if the existing caulk is cracking. Clean the dryer vent if you have one. Replace the refrigerator water filter if applicable. Each task takes 15 to 60 minutes and prevents a $25 to $200 deduction.
Move-out supply kit: Boxes, tape, markers, trash bags, a vacuum, a mop, all-purpose cleaner, a magic eraser for marks on walls, a screwdriver, a putty knife for spackle. Most of this is in your apartment already; what is missing, buy this week while you have time.
Utility transfer scheduling: Call or log into your electric, gas, water, internet, and any other utility accounts. Schedule the transfer of service out of your name for the move-out date. Some utilities require 1 to 3 business days notice; schedule now.
Mail forwarding: File a Change of Address form with USPS, online or at the post office. The forwarding starts on the move-out date and runs for 12 months. Free service.
The Next 24 Hours: Pre-Move-Out Inspection
The day before move-out, walk the apartment one more time with the camera. Photograph every wall, floor, ceiling, appliance, and fixture. Take the same shots you took at the move-in walk-through. The "before and after" documentation is your evidence if the landlord claims new damage.
Three things to check during this walk:
1. Cleaning completeness. Walk through the cleaning checklist. Oven, refrigerator, bathrooms, baseboards, light fixtures, window sills. Anything you missed, clean it now.
2. Repair completeness. Walk the repair list. Nail holes patched and touched up. Light bulbs replaced. Caulk redone. Dryer vent cleaned. Anything you missed, do it now.
3. Personal items removed. Check every closet, cabinet, drawer, and shelf. Look behind appliances. Look under the sink. Look on top of the refrigerator. Anything you are leaving behind by accident, remove it now.
Photograph the unit again after the final touches. The final photos are the "after" set for comparison with the move-in photos.
Move-Out Day: The Walk-Through and Key Return
Move-out day is the day everything you've prepared converges. The morning is for last details. The afternoon is for the walk-through and key return.
Morning: Make sure the dishwasher is empty, clean, and dry. Do not run it during the inspection—it blocks access and may leak. Run the laundry one final time so the dryer is empty for inspection. Set the thermostat to a reasonable temperature (60 to 65°F is fine; do not turn off the heat entirely as some pipes may need protection). Make the bed one final time.
Afternoon, walk-through with landlord (if scheduled): Walk every room with the landlord or property manager. Have your move-in photos on your phone for comparison. Note any new damage the landlord identifies. Photograph anything the landlord flags. Do not argue in person — note the issue, photograph it, and address it in writing after the walk-through.
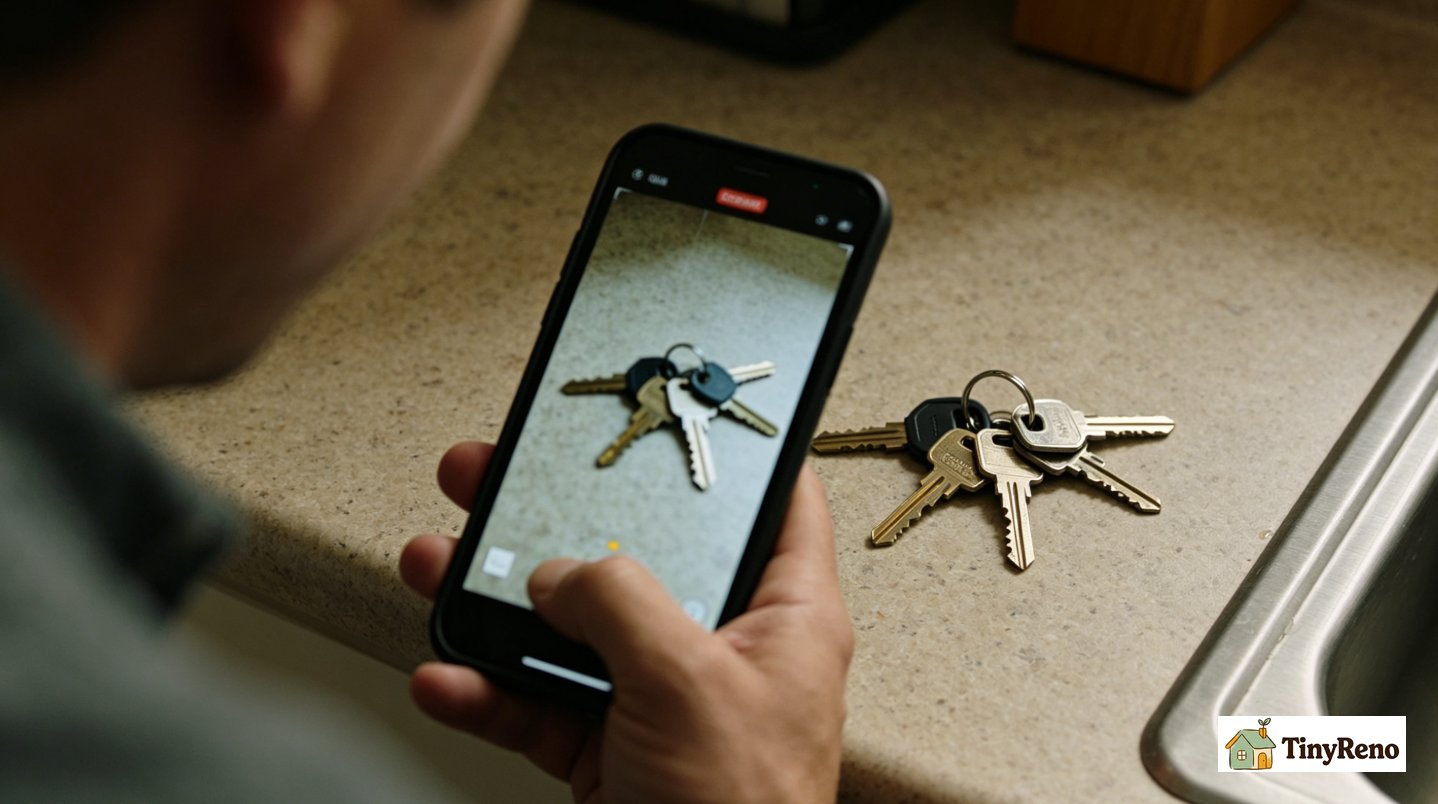
Afternoon, key return: Return all keys, fobs, mailbox keys, gate remotes, parking passes, and any other access devices to the landlord or the location specified in the lease. Get a written receipt or photograph the keys on the counter with the timestamp visible. If the landlord is not on-site, leave the keys in the location specified in the lease and photograph them at that location with timestamp.
Final meter readings: Photograph the electric, gas, and water meter readings. Send the photos to the utility companies to confirm the transfer date. This prevents the landlord from charging you for utilities used after you left.
Forwarding address confirmation: Confirm the landlord has your forwarding address. Email it again the day of move-out as a backup.
The Next 30 Days: Follow-Through
The 30 days after move-out are the follow-through period. The deposit return, the dispute letter if needed, the small claims case if the dispute fails.
Day 1-7 post-move-out: File the utility transfer confirmations. Confirm the mail forwarding is active. Save all the move-out photos in a labeled folder for the next 2 to 3 years (most states allow the landlord up to 2 to 3 years to sue for damages).
Day 8-14 post-move-out: Send a follow-up email to the landlord confirming the move-out, the forwarding address, and your expectation of the deposit return within the statutory deadline. This email serves as a record of your good-faith effort to coordinate the deposit return.
Day 14-21 post-move-out: If the deposit has not been returned and no itemized deduction list has been received, send the dispute letter. The dispute letter follows the template from the get-deposit-back article. Reference the statutory deadline, the itemization requirement, and the specific deductions you are disputing.
Day 22-30 post-move-out: If the dispute letter does not produce a resolution within 7 days, escalate. File a complaint with the state attorney general. Consider small claims court if the disputed amount is significant.
The follow-through period is where most tenants lose. They leave the move-out day thinking the work is done. The deposit return, the dispute, and the follow-up are where the actual money is won or lost. Do not stop at move-out day.
If You've Already Moved Out Without Prep
If you already moved out without the prep work, three moves are still open to recover your move out apartment deposit.
Move 1: Document what you remember now. Write down the move-in condition, the repairs you made, the cleaning you did, and the condition you left the unit in. Email this to yourself so the timestamp is server-side. The notes become your evidence if a dispute arises.
Move 2: Pull the move-in condition report. Request a copy from the landlord if you don't have one. The landlord is required to provide a copy on request. The report is your baseline for any dispute.
Move 3: Respond to any deduction notice immediately. If you receive a deduction notice after move-out, respond within 7 days. Most states allow you to dispute; the deadline for the dispute is often shorter than the deadline for the landlord to act.
What to skip if you already moved out without prep: trying to argue about cleaning. The deposit deductions for cleaning are usually legitimate if you did not clean. Focus on disputing the deductions for damage you did not cause and for amounts that exceed the actual cost.
The Short Version (If You're Skim-Reading)
When should I start preparing to move out of my apartment? 30 days before the move-out date. The legal notice period is 30 to 60 days in most leases. The cleaning, repair, and documentation work should start 4 weeks before the moving day.
What should I do the day I move out? Walk every room with the camera. Photograph every wall, floor, ceiling, and appliance. Photograph the meter readings. Return all keys with a written receipt or photographed proof. Hand over the forwarding address.
Do I have to clean the apartment when I move out? You have to leave it in the same condition it was in when you moved in, minus normal wear and tear. Some leases require professional cleaning with a receipt; check your lease. If it doesn't, a thorough DIY clean is usually enough.
How long after move-out do I get my deposit back? 14 to 30 days in most states, but some states allow up to 60. The exact deadline is in your state's security deposit statute. If the landlord misses it, penalties vary—some states forfeit the right to deduct, others award double or triple damages.
Can I move out without giving proper notice? You can leave, but you cannot avoid the lease obligations. Without proper notice, you typically owe rent until the notice period expires or a new tenant takes over. The deposit return is also affected. Sending the notice 30 days before you move out protects your deposit and your legal standing.
For the full reasoning behind each step, the body of this article walks through the 4-week calendar with the specific tasks for each week, the day-of checklist, and the 30-day follow-through timeline. The calendar as written gets the deposit back in 3 out of 5 move-outs. Skipping weeks drops that to 1 out of 5.


Discussion (0)
Sign in to join the discussion