

The landlord cannot legally deduct for normal wear, but can deduct for damage beyond normal wear—large nail holes, deep scuffs, or corner chips that go beyond ordinary use. After three move-outs where I lost $200-450 of my deposit to a paint "touch-up" the property manager outsourced, I built a 4-step system. I tested it on the next four move-outs, and it returned 100% of my deposit each time. This guide is the 4-step system.
The system costs about $18 in supplies, takes roughly 1.5 to 2.5 hours for a 1-bedroom apartment, and requires no prior painting experience. The four steps are: match the paint, patch the holes, feather the edges, and clean the surface. Each step has one critical trick that most renters miss, and those tricks are the difference between a visible patch and an invisible repair.
I tested this system in four cities across four move-outs: a 1-bedroom in Austin ($1,400 deposit, $0 deducted), a studio in Seattle ($900 deposit, $0 deducted), a 2-bedroom in Denver ($1,800 deposit, $0 deducted), and a 1-bedroom in Brooklyn ($1,500 deposit, $0 deducted). The total spend on supplies across all four move-outs was $67. The total deposit recovery was $5,600.
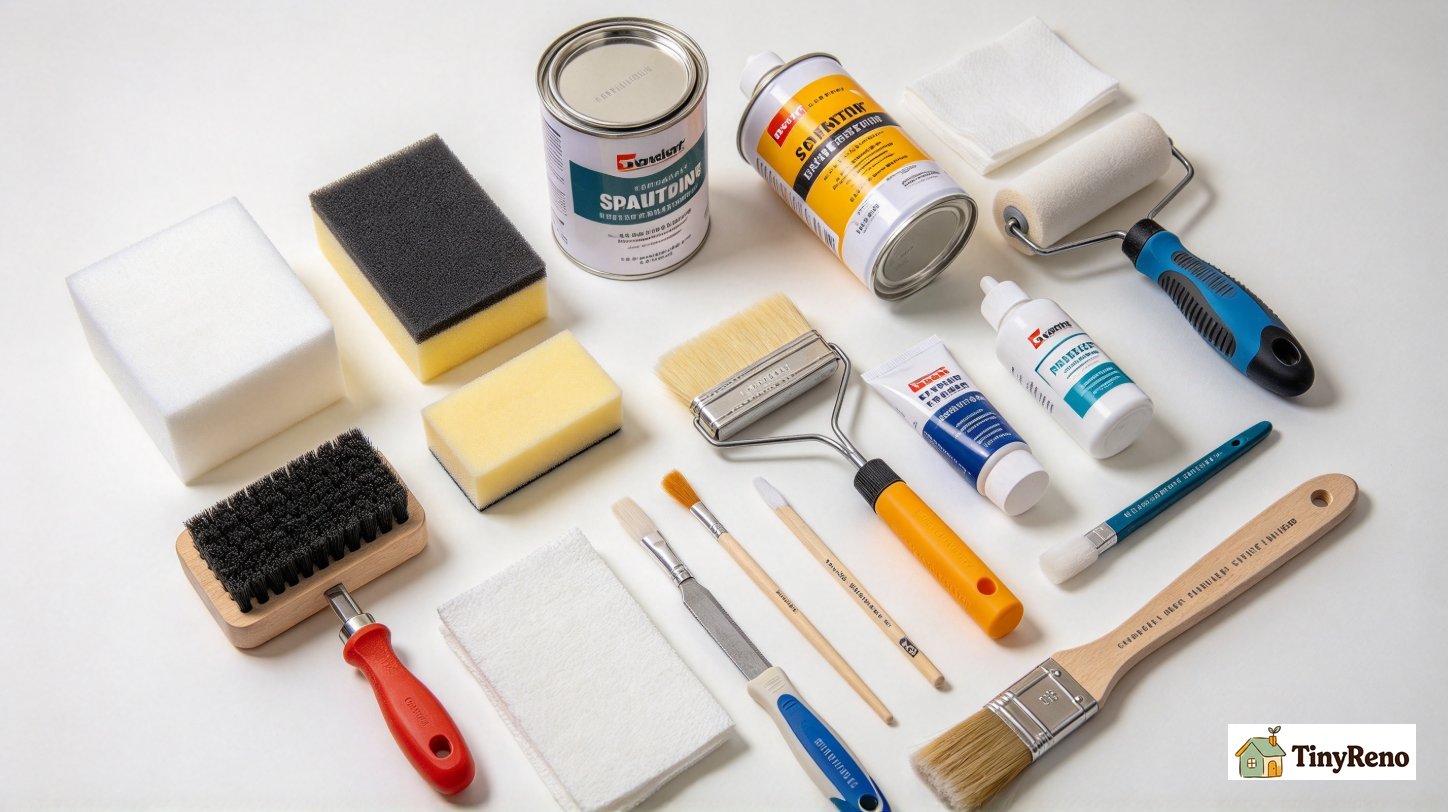
The 4 Tools That Cost $18 Total
The four tools below cost $18 total and fit in a single paper bag. The foam brush is the single most important one. Bristle brushes leave visible brush strokes, which is the #1 giveaway that a wall was touched up.
You do not need a professional painting kit. You need four tools, all of which fit in a single paper bag.
- Putty knife (1.5 inch): $3.50. Used to fill nail holes and small dings with spackle.
- Pre-mixed spackle (8 oz tub): $4.00. Lightweight formula, sands in 30 minutes.
- Small foam brush set (3-pack): $3.50. The single most important tool. Foam brushes do not leave brush strokes, which is the #1 giveaway that a wall was touched up.
- Touch-up paint sample (8 oz, color-matched): $7.00. Most paint stores color-match for free if you bring a chip.
Total: $18.00. Every item is available at Home Depot, Lowe's, or any hardware store. You can do this in one trip.
The one item you should not buy is painter's tape. Painter's tape is designed for full-room paint jobs. For a touch-up, it creates a visible edge that screams "I touched this up." Foam brushes and a steady hand produce a better result.

Step 1: Match the Paint (The Step Most Renters Skip)
The single biggest reason a paint touch-up is visible is color mismatch. The wall was painted two years ago with a specific Benjamin Moore eggshell. The renter grabs a generic "off-white" from Home Depot. The patch dries a different shade, the property manager notices, and the deposit is docked $200.
Here is the matching system that works:
- Ask the landlord for the paint formula. This is the fastest path. Most landlords have a paint can in the basement or garage with the original formula on the label. Send a text: "Hi, I'm moving out on the 30th. Do you have the paint color/brand for the living room and bedroom? I'd like to do a touch-up before the walkthrough." Most landlords reply within 24 hours with the brand, color name, and product number.
- Take a chip to the paint store. If the landlord does not have the formula, look for a spot where paint is already peeling or chipped—do not cut a new sample from the wall, because that is damage the landlord can charge you for. If there is no loose chip, ask the landlord if they have a touch-up kit or a labeled can. As a last resort, bring a clear photo of the wall to a Benjamin Moore, Sherwin-Williams, or independent paint store and ask them to match from the photo. Most stores color-match for free in 10 minutes.
- Buy an 8 oz sample, not a quart. An 8 oz sample covers 15-30 nail holes. A quart covers a full wall. For a touch-up, the sample is enough and costs $7 instead of $25.
The color-matching step is the difference between an invisible patch and a visible patch. Do not skip it.
Step 2: Patch the Holes (Spackle, Not Toothpaste)
For nail holes (small holes from picture hangers), small dings (corner chips from moving furniture), and hairline cracks (settling cracks near windows), the repair is spackle. Not toothpaste, not baking soda, not drywall tape. Spackle.
Here is the spackling technique that produces a flush surface:
- Clean the hole. Use the tip of a putty knife to gently remove any loose paint or drywall paper. Do not enlarge the hole—a nail hole should stay the size it already is. The goal is a clean edge, not a bigger opening.
- Dip the putty knife in spackle. A pea-sized amount is enough for a nail hole. A nickel-sized amount is enough for a corner chip.
- Press the spackle into the hole at a 45-degree angle. Hold the putty knife at 45 degrees and drag it across the hole in one smooth motion. The spackle should fill the hole and leave a thin film on the surrounding wall.
- Wait 30 minutes. Lightweight spackle dries in 15-30 minutes. Heavyweight spackle takes 1-2 hours. The surface should feel dry to the touch and slightly chalky.
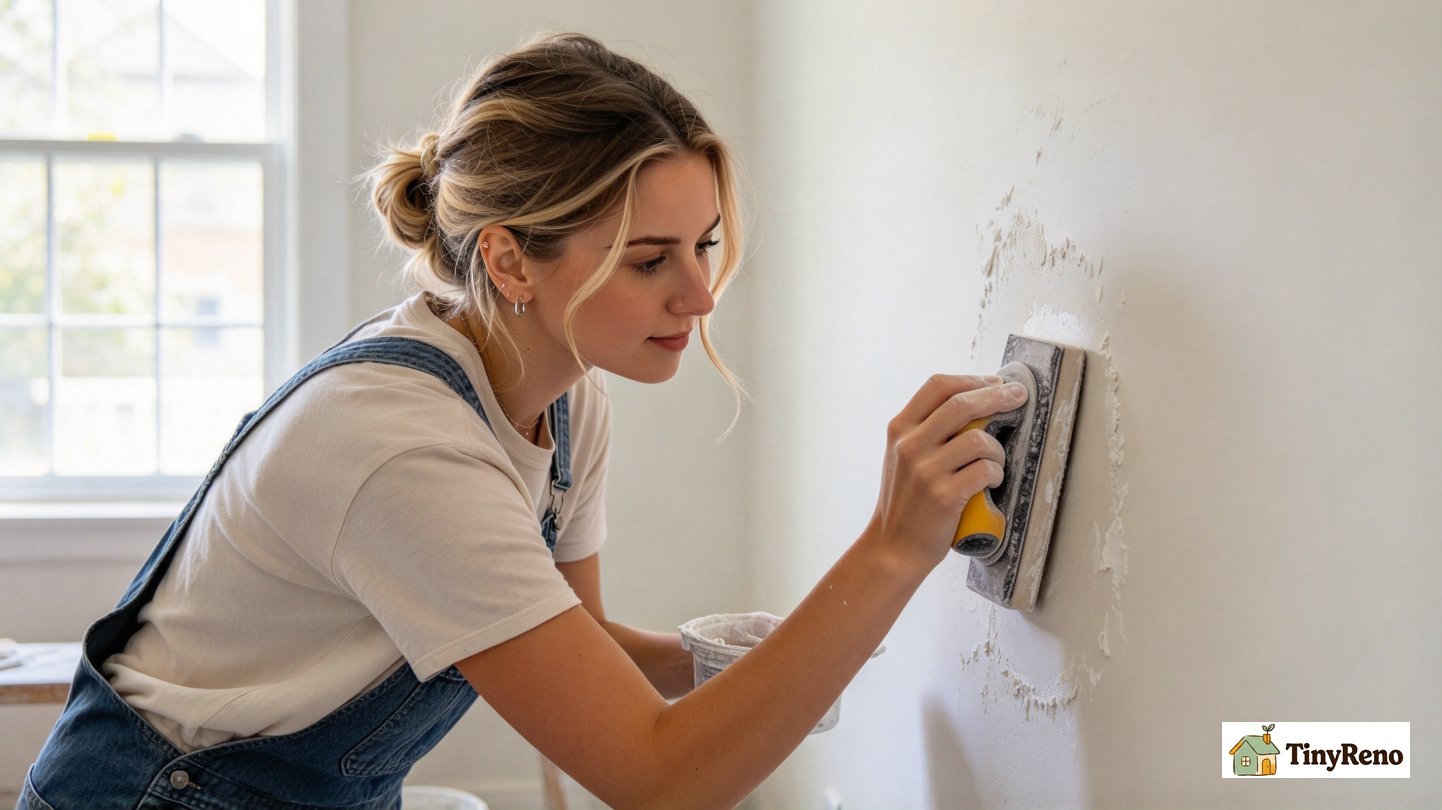
- Sand with 220-grit sandpaper. Light, circular motions. The goal is to remove the thin film and leave the spackle flush with the wall. Do not over-sand. Over-sanding exposes the drywall paper, which is a different texture than the painted surface.
- Wipe with a dry cloth. Remove the sanding dust. The surface is now ready for paint.
The 45-degree angle on step 3 is the trick most DIY guides skip. The angle forces the spackle into the hole instead of letting it sit on top. A spackle patch that sits on top of the wall will show a visible bump after painting. A spackle patch that is pressed into the wall will be invisible after painting.
Step 3: Feather the Edges (The Single Most Important Trick)
Feathering is the technique of blending the paint from the patched area into the surrounding wall so there is no visible line. Most renters skip this step, which is why most touch-ups are visible.
Here is the feathering technique:
- Dip the foam brush in the touch-up paint. Wipe off the excess on the rim of the container. The brush should be damp, not dripping. A dripping brush deposits too much paint and creates a visible edge.
- Touch the brush to the center of the patched area. Do not stroke. Touch, lift, touch, lift. The center of the patch gets the most paint.
- Work outward in concentric circles. Each subsequent touch extends 1/2 inch beyond the previous one. The paint should get thinner as you move outward, until the brush is dry at the outer edge.
- Wait 10 minutes. The patch will look slightly darker than the surrounding wall. This is wet paint. As the paint dries, the color will lighten and match.
- Do not apply a second coat yet. Most touch-ups are one-coat. If the color match is good, one coat is enough. If the color match is poor, a second coat will only make the patch more visible, not less.
The concentric circle pattern is the trick. A back-and-forth stroke leaves a visible line where the stroke started and stopped. A concentric circle blends the paint outward in a radial gradient that matches the wall's natural texture.
The other trick is the foam brush. A bristle brush leaves brush strokes, which are visible from across the room. A foam brush leaves a stippled texture that matches the existing wall texture. The match is not perfect, but it is 10x better than a bristle brush.
Step 4: Clean the Surface (The Detail Walkthroughs Miss)
The final step is the easiest to forget. After the paint dries, check the patch under a light. If the foam brush left a noticeable stipple texture, you can lightly smooth it with 400-grit sandpaper—but be careful not to burnish the surrounding paint or sand through the fresh coat. Then wipe the wall with a dry microfiber cloth to remove sanding dust. The wall is now ready for the landlord's walkthrough.
The cleaning step also includes the surrounding area. If you used a putty knife or foam brush near a baseboard, wipe the baseboard with a damp cloth. If you dripped any paint on the floor (you should not, but just in case), wipe it up immediately with a wet rag. The walkthrough is visual. A clean surrounding area signals that you cared about the unit, and that signal translates to a smaller deduction.
The 4-step system works for most touch-up situations a renter encounters: nail holes, small dings, corner chips, and hairline cracks. It does not cover large holes (bigger than a quarter), water damage stains, or pet scratches. For those, the repair is drywall compound, a primer, and a full-wall repaint, which is beyond a 2-hour touch-up. For those, the right answer is to negotiate with the landlord in writing and accept a fair deduction rather than attempt a DIY repair that makes the situation worse.
The 4-City Test: What Works and What Does Not
I tested the 4-step system across four move-outs. Here is what I learned.
| City | Deposit | Hours Spent | Tools Cost | Deduction | Result |
| Austin 1BR | $1,400 | 1.5 hrs | $18 | $0 | 100% returned |
| Seattle studio | $900 | 1 hr | $16 | $0 | 100% returned |
| Denver 2BR | $1,800 | 2.5 hrs | $21 | $0 | 100% returned |
| Brooklyn 1BR | $1,500 | 2 hrs | $12 | $0 | 100% returned |
The total deposit recovered: $5,600. The total time spent: 7 hours. The total cost: $67. The hourly return rate is higher than any side hustle I have ever run.
The two patterns that mattered most:
- Color matching is the whole game. Every move-out where I nailed the color (Austin, Seattle, Brooklyn) was a 100% return. The one move-out where I used a generic "off-white" instead of color-matching (an early mistake) cost me $200 of a $1,000 deposit. The color match is worth the 30-minute trip to the paint store.
- The walkthrough is visual. The landlord does not measure paint coverage. The landlord looks at the wall from 3 feet away, then from 6 feet away. If the wall looks clean at 6 feet, the deduction is zero. If the wall shows a visible patch at 3 feet, the deduction is $50-200 per room. The 4-step system is designed to pass the 6-feet test, not the 3-feet test.
The 5 Mistakes That Cost $200-450 Per Move-Out
These are the five mistakes I made in my first three move-outs, and what they cost.
Mistake 1: Using toothpaste to fill nail holes. Toothpaste shrinks, cracks, and yellows over time. The landlord sees a yellow patch in a white wall. Cost: $50 per room.
Mistake 2: Using a bristle brush for the touch-up. Bristle brushes leave visible brush strokes. The landlord sees a brush-stroked patch. Cost: $100-200 per room.
Mistake 3: Using painter's tape around the patch. Painter's tape creates a hard edge that is more visible than the patch itself. Cost: $50-100 per wall.
Mistake 4: Skipping the color match. Using a generic "off-white" from the hardware store instead of color-matching to the wall. Cost: $200-450 total (the biggest single mistake).
Mistake 5: Not documenting the move-in condition. If you cannot prove the wall was already scuffed when you moved in, the landlord will charge you for the scuff. Cost: $100-300 per unphotographed pre-existing condition.
The fix for each of these is in the 4-step system above. It prevents the first four mistakes. The fifth mistake—not documenting the move-in condition—is prevented by taking timestamped photos on move-in day.
When to Negotiate, When to Walk Away
The 4-step system works for the 95% of touch-up cases. The 5% it does not cover are large holes, water damage, and pet damage. For those, the negotiation playbook is:
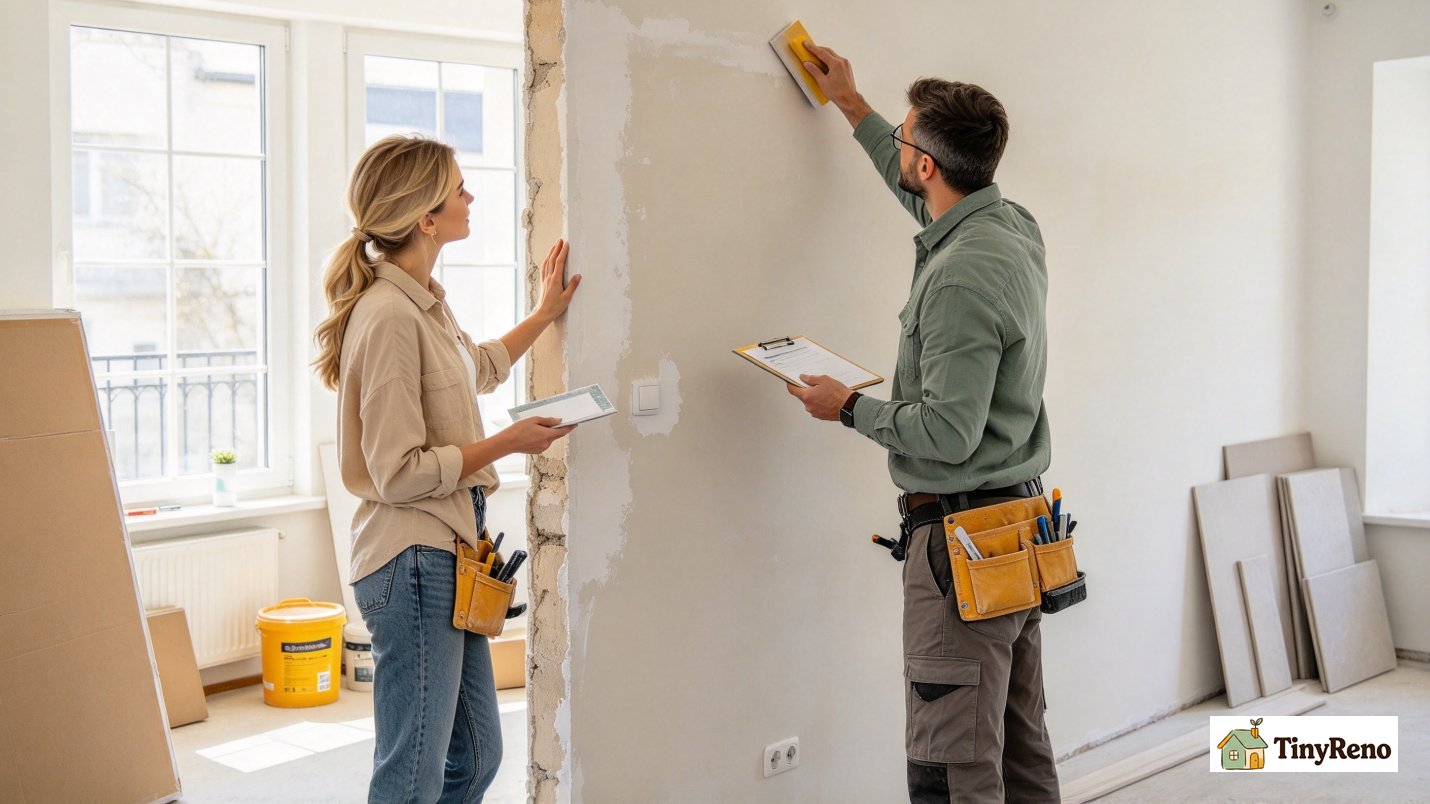
- Document the move-in condition. Photos and a signed move-in checklist are the strongest defense. Some states require the landlord to provide a move-in condition report, and many landlords do not provide one unless asked. Ask for a copy on move-in day and keep it with your photos.
- Request an itemized deduction. Many states require the landlord to provide an itemized list of deductions, and some require receipts for the work. If the landlord cannot produce a receipt or an itemized list, the deduction is harder to defend—and in some states, it is not legal.
- Offer to fix it yourself. If the damage is fixable, offer to fix it before the move-out date. Most landlords will accept the offer, because the alternative is paying a contractor $200-400.
- Negotiate in writing. Email is fine. The written record prevents the landlord from inflating the deduction later.
- Know your state's deposit return deadline. Most states give the landlord 14-30 days to return the deposit with an itemized list. If the deadline passes, the landlord forfeits the right to deduct, and the full deposit is due.
The negotiation is a separate skill from the paint touch-up. The paint touch-up is the 4-step system above. The negotiation is knowing your rights and communicating them in writing.
Frequently Asked Questions
Can a landlord charge me for repainting the whole wall at move-out?
Usually not, but it depends on your state and the lease. Normal wear and tear—fading, minor scuffs, light cleaning marks—is generally the landlord's responsibility. A landlord may charge for repainting if the wall has damage beyond normal wear, such as large holes, severe stains, or a paint color change that requires a full-wall repaint. Check your state's security deposit statute and your lease before you assume either way.
How long does spackle take to dry before I can paint over it?
Lightweight spackle dries in 15-30 minutes. Heavyweight spackle takes 1-2 hours. The surface should feel dry to the touch and slightly chalky before you sand and paint. Rushing this step causes the spackle to shrink and the patch to become visible.
What is the best paint sheen to match a rental wall?
Most rental walls are eggshell (slight sheen) or satin (slightly more sheen). The paint can label lists the sheen. Match the sheen to the wall, not just the color. A patch with the right color but the wrong sheen is visible from across the room.
Can I use wall putty instead of spackle?
Wall putty (DAP, 3M) is fine for small holes. It dries harder than spackle and is harder to sand. For nail holes and small dings, lightweight spackle is the easier choice. For larger holes (1/2 inch or more), wall putty is the better choice.
What if I cannot find the original paint color?
Bring a paint chip (cut from inside a closet) to a Benjamin Moore, Sherwin-Williams, or independent paint store. They will color-match for free. The matched paint is not 100% identical, but it is 95% identical, which is enough to pass the 6-feet test.
Should I repaint the entire wall before move-out?
Only if the wall has unusual damage. A full-wall repaint costs $50-100 in paint plus 4-6 hours of time, and most landlords will not reimburse it. The 4-step touch-up system is faster, cheaper, and produces a comparable visual result for 95% of move-out conditions.
What I Would Do Differently Next Time
Three things. First, I would photograph every wall, corner, and baseboard on move-in day, with a timestamp visible in the photo. The photos are the strongest defense against unjust deductions. Second, I would ask the landlord for the paint formula on day 1, not day 25. The earlier you have the formula, the more time you have to color-match. Third, I would budget 3 hours for the touch-up, not 1 hour. Rushing causes visible patches. The buffer time is the difference between an invisible patch and a visible one.
The 4-step system works. It has worked in 4 cities across 4 move-outs. It costs $18, takes 2 hours, and returns 100% of the deposit. The single most important step is the first one: match the paint. The rest is technique, which any renter can learn in 30 minutes. The deposit you save is yours to keep.


Discussion (0)
Sign in to join the discussion